Monday, October 27, 2014

Furniture Facelift

A few months ago I found a counter height table set at a local flea market.  I got a decent deal for it.  There are a few small scratches on the top (which I will fix eventually) and the cushions on the chairs needed some help.  I'm not a huge fan of white or off white...not with a mechanic in the house.  So one day last week I was perusing the fabric department at Walmart and found a lovely upholstery fabric on clearance!  It was such a good deal I couldn't pass it up so I got enough to do my dinning chairs, and the folding chair set I also picked up at the flea market.


When you are recovering something as simple as a seat cushion you need a few tools.  Fabric and scissors, the correct screw driver if you are taking seats off a chair like I did, and a staple gun,

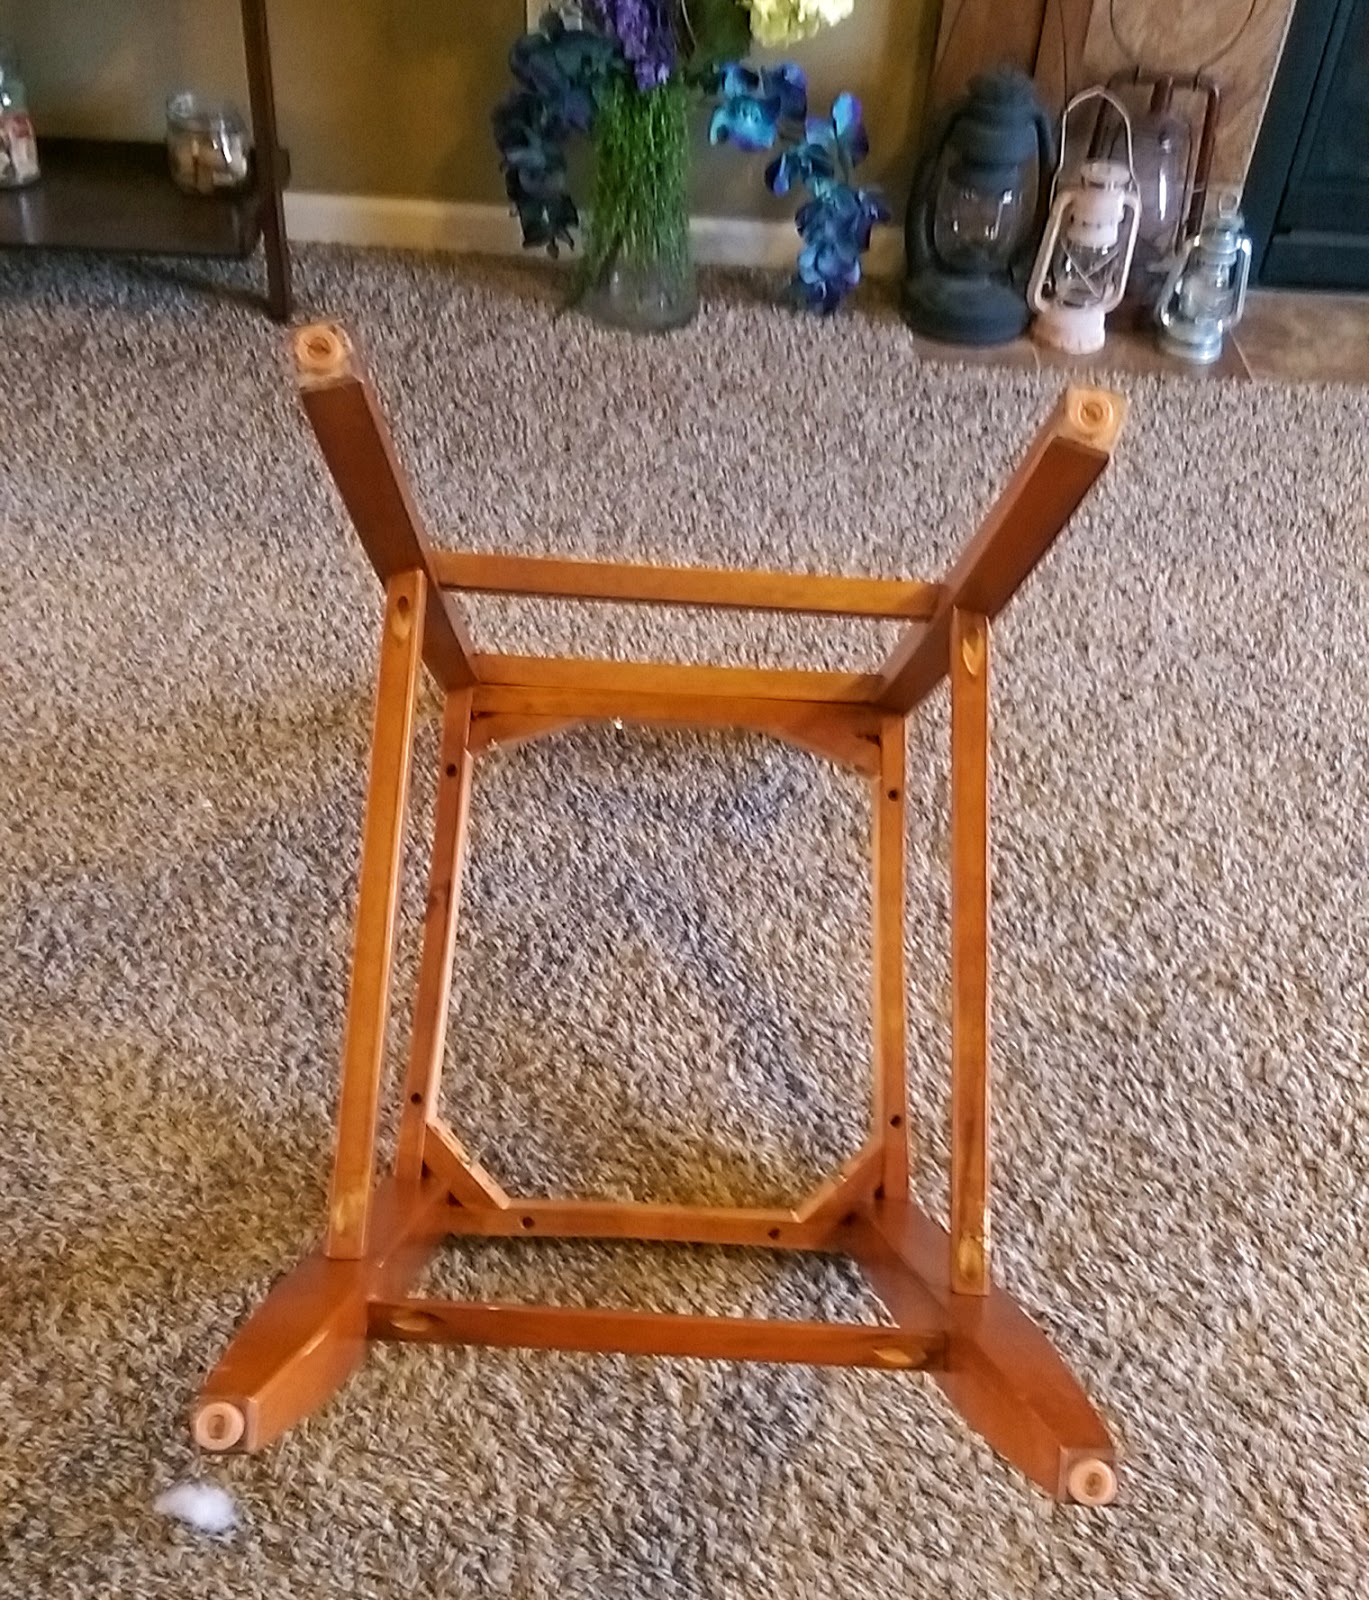
Take the cushion off the frame and set the frame aside, but be careful to not tip the screws out of their holes.

Lay the cushion on the square of fabric, with the print down.


Start on one side and put one staple in the center


Then carefully add three or four more on each side of the center staple.  Turning the corners is the most difficult part, just manipulate the fabric until you like the way they look then secure with several staples

Cut the excess fabric off.

Reattach to the chair base and you have updated your look quick and simple!

Sunday, October 26, 2014

Rags to dolls

The history of rag dolls is interesting, most of them are made with cloth, spare scraps and are even stuffed with the same.  One was even found buried with a child in Rome, dating back to 300 BC.  Today you can find rag dolls on Etsy, or other such sites for sale, most made with old materials or vintage findings.  These dolls can be expensive (to say the least) and some are too precious for every day loving.

One one of my many trips to the library here in town I found a book on how to make rag dolls.  The book is The Making of a Rag Doll: Design & Sew Modern Heirlooms and can be found on amazon by using the link.  I think the book is a great idea, but I did find after reading the book, and tracing the patterns, that the pattern that is provided in the back of the book is TOTALLY different than the dolls she shows in the pictures.  I created one such doll, and ended up altering the pattern  as provided, and still wasn't sold on the results...don't get me wrong, my doll is SUPER cute and I will make more of these, but after doing more research I see where the differences lie.


To start, the body pattern is all wrong,  Jess' dolls have a wider neck, and the arms are attached separately.  Secondly and what I think is MOST important is the book pattern shows the back piece in two pieces...but her dolls are made with matching front and back pieces and are stuffed a different way.  I will be altering my patterns to be more like the Jess dolls.  The knickers are a lot longer in pattern than in pictures, but the dress and apron I made match well.  I did add the crocheted shawl to my doll, just to add that touch of me. And used yarn for hair instead of the strips of fabric Jess suggested.  I don't want to sound ungrateful for the pattern, but if I had purchased this book thinking I was going to get the pattern that she used and found out afterwords that it is a totally different pattern, I would be taking the book back for a refund.

I started a new doll, based on the pattern from Jess Brown.  I altered the pieces on the back of the body/head.  I did remake the patterns, this time using something that will hold up to repeated pinning, Card stock works well for this pattern.  You can pin it multiple times and make a lot of dolls!  Start by gathering the tools you need; patterns, good fabric scissors, iron, fabric, needle and thread for the hand work, the yarn or other fiber for the hair, some frey stop (or you can just sew the edges) and some liquid stitches.


Iron the fabric and pin the pattern according to directions.


Then cut everything out.  I was working like a dervish because I am me, and that is what I do.  Head down and forget to take pictures!  But I can say that I will alter the above pattern even more because I ended up trimming the back of the head quite a bit before I liked the way it looked.  After everything is stitched and turned right side out I decided to tea stain the fabric.


I didn't leave it in very long, just long enough that it wasn't bright white anymore! Wring the pieces out, and if you want you can toss them into the dryer to speed things up, otherwise lay them out and let them air dry.  In the meantime you can begin making the clothes.  I am in love with the sundress pattern that Jess provides so I went with that


After the dress was cut out, embelished and stitched up I turned my attention to stuffing the legs and arms (while watching Game 4 of the World Series) and getting the legs attached to the body, and the body stuffed.  After stuffing the body it's time to close up the hole in the back.


I chose to use dark thread, and as soon as my bobbin is empty I will be using the dark brown to sew the doll too.  Again because I was watching baseball I did not stop to take any pictures of sewing the face, or the arms, or the hair.   But I'm sure if you read the book you can figure out how to put the pieces together.  For this doll I did not use buttons on the shoulders like I did on the first one.  And the dress straps are actual bias tape straps made out of the fabric of the dress.  I still need to make bloomers and a messenger bag for her, and if I have time a small book full of uplifting educational phrases.  This doll is being donated to P.E.O. Chapter NI for the annual auction next month.


Wednesday, October 1, 2014

Reviving an almost lost art

The year we moved to our new house we were given two beautiful quilts at Christmas.  Both quilts were made by my DH's Grandma and Mother.  Treasured pieces, heirlooms.  My parents have two quilts that were made by my father's mother.  And we still have a crocheted afghan that my mom's mother made.  I still have a picture of her making that afghan.  Handmade items are making a comeback. And I'm glad to be on that bandwagon!

The scrap that started it all
Back in May I was out with one of my neighbors getting paint for her house.  I noticed a lady using a piece of fabric to find a paint color. Even from a distance I fell in love with that scrap of fabric.  It had the colors that I have been using all over my house, and I loved the not so even stripes. Being the outgoing person that I am I went up to her to find out where she got that beautiful piece!  JoAnn Fabric of course, and being the nice person she was she gave me a piece of that scrap so I could take it with me to find it.  Upon closer inspection there was some gold sparkle woven between color stripes, and I was even more excited on what I could create with it.

I had only just recently joined the quilting group at church, and I knew I had a lot to learn.  But I was ready to try my hand at making a simple first quilt.  After consulting with the quilt guru at our group I found several patterns that were contenders, and eventually settled on trying a quilt I found on Pinterest.  The PDF is free, and I cannot link to the original site I got the pattern from.  But I did luckily download that pattern, and you can get it HERE.

My mom and I went shopping for the fabrics.  The pattern called for flannels, but you can substitute regular cotton fabrics.

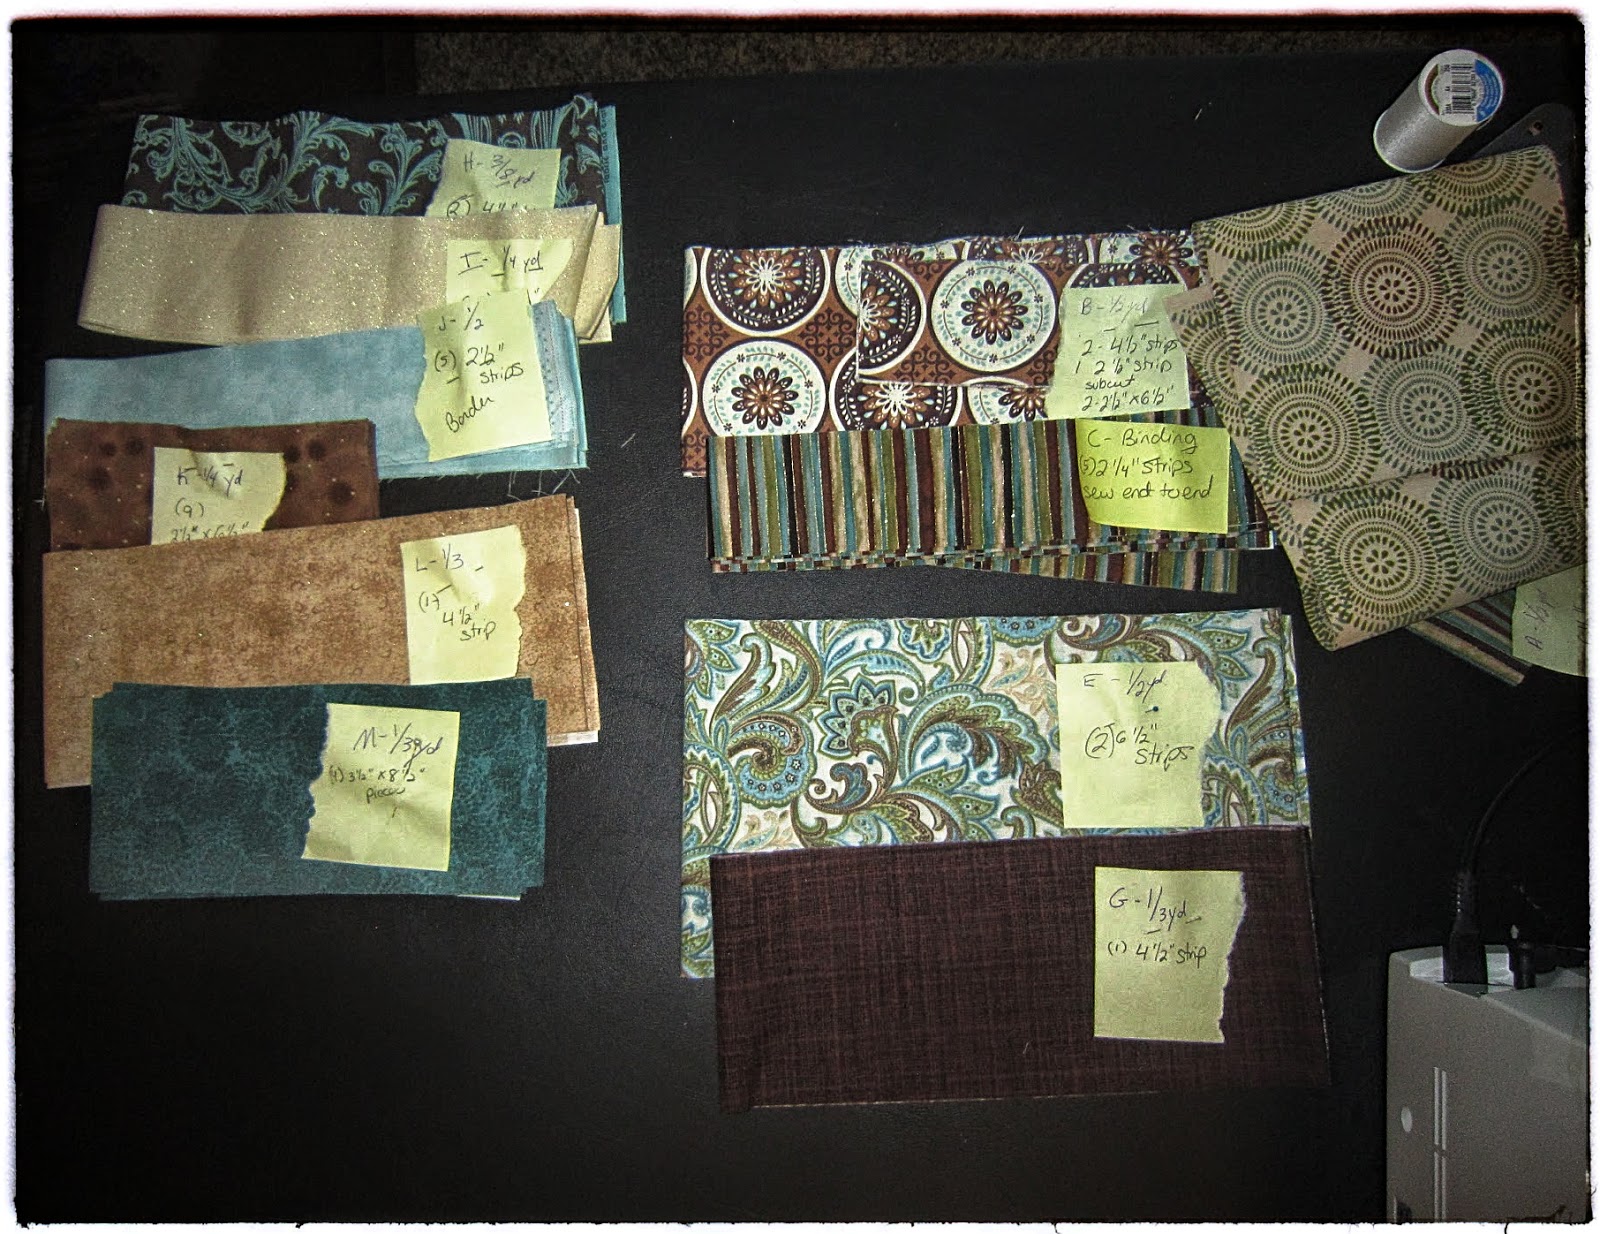
Once you have everything LABELED (and trust me, you will want to label everything with a sticky note and a pin) grab your iron and carefully iron out any creases and lines. But don't smoosh it around, press it,  you don't want the fabric stretching.  Then grab your pattern, and your tools and take a deep breath, because it's time to start cutting the fabric!!!

There is a saying in construction, and it's true for sewing too.  "Measure twice, cut once"  No one can really say who uttered these words first, or a variation of them, but the phrase and meaning has been traced back to 1560 AD, but who knows if it was used even earlier.  And if that phrase has been around that long, you best believe it is sound and solid advice.  You cannot uncut fabric.  And although you do end up with extra bits and pieces, you don't want to mis-measure multiple times, otherwise you will end up having to go BACK to the store and hope they have more of the fabric you originally chose.

As I cut the pieces I added information to my labels, I wasn't sure how much time this would take and I wanted to make sure if I needed to leave the project and then come back to it I would not be confused at where I left off.  I also used a pencil to put check marks after completing a step or cut.

After getting the strips cut to size, start with step one, sew the indicated pieces together.

A good pattern will tell you which direction you need to press, and I mean PRESS the fabric.  Again, don't smoosh the fabric it will stretch it which results in a ripply quilt top, and if you are going to take the time to make a quilt, you want to do it right!
Press, don't smoosh
After the strips are sewn together then you get to cut them into the sub pieces.  Measure carefully!

It went really quickly from there, the sub cuts get sewn together into blocks, then the blocks get sewn into strips.

Once the strips are sewn together it's time for the border.  This step for some reason gave me a hard time.  You can butt the ends of the border fabrics together, or you can miter them.  I chose to miter, and the first time I sewed the pieces together realized that I sewed a right side to a wrong side, after I had already trimmed the excess...of BOTH pieces...oops...time to try again and the third time was a charm.
Double check before you cut mom!  Duh!

Sewing the border to the main part of the quilt took a lot of patience, and a lot of pins.  You don't want that thing to move while you are sewing!


Then before you know it, the top is done, and you can sandwich the quilt! It helps especially if you are a newbie like me, to have multiple helpers that know what they are doing.

It takes a LOT of safety pins, a lot more than you think.  After the backing, batting and top are pinned together you can start doing the quilting process.  I am doing diagonals, 3" apart over the face of the quilt.  It will give it a diamond pattern.  I am doing the quilting myself, mostly because I didn't have enough of the backing fabric to extend 6" on all sides which is what is requested when sending a quilt to a long arm quilter.  This is small enough I should be able to handle it myself.  I got some quilters tape, to mark the lines I want to sew.  Make sure you read the label, and don't sew through the tape, or leave it on your fabric for longer than 24 hours.


The final step to creating a quilt is to put the binding on, it is a multi-step process, and one of many ways to bind a quilt.  I think it is fairly easy to create a beautiful binding this way.


The final step is to hand stitch the binding to the back of the quilt.  I still have to do this final step.  I have a ton of other projects that need my attention so it may take a while to get to it, but I will eventually get it done!  I just wanted to be able to share my labor of love. I promise to share a picture once it's all the way done!

Enjoy, and go create something!

Friday, September 12, 2014

Can it all...

There isn't much you can't can...you can can almost anything...today my Mom and I are going to make and can some Lavender Vanilla Pear Jam.  We have decided to start with the Sure Jell recipe for making jam.  We are going to alter the recipe to add the vanilla and lavender.  We will do our best to write everything down.

The Kraft site says you need 3 lbs of Pears, and one lemon.  You need to peel, pit and finely chop the pears (you will or should end up with 4 cups of finely chopped pears).  Then add 2Tbsp fresh lemon juice and 5 cups of sugar.  But I think that is too much sugar, so we instead made a reduced sugar version following the directions on the Ball Classic Pectin jar.  And added our own twist.

We used:
4 cups of fruit
3 tablespoons fresh lemon juice
4.5 tablespoons pectin
3 cups sugar
1 teaspoon vanilla extract
2 tablespoons lavender in a tea bag
1/2 teaspoon butter

Bring a large pot of water to boil for the jars, you need to sterilize them before you put your hard work into them.  They can just stay in the water until right before you need them.  Same goes with the lids and bands...just let them sit in hot water until you are ready for them.

Prepare the fruit, we peeled some of the pears, but left the red skin on, cause it's so purdy.
This pear had a face
We cored them and chopped them into tiny pieces!

Put the fruit, lemon juice, butter, lavender and pectin in a large pot and stir it up!
 

Bring it to a full rolling boil (the kind of bubbles that don't go away when you stir it) and stir constantly. Stir in the sugar and let it get to a full rolling boil again, then set your timer for 1 minute.
It helps having two hands so you can pull the hot jars out of the water while the other person stirs.
Using a sterilized measuring cup with a handle and a wide mouth funnel ladle into the jars.  Wipe the rim before putting the lids on, screw the lids on finger tight and place back in the pot and let it boil for 10 minutes to process the jam. This part goes soooo fast we didn't get any pictures.

Remove the jars from the boiling water and place on the counter and listen for the pop!  Leave them to cool for 24 hours!

You can store unopened jars in a cool dry dark place up to one year, open jams keep in the fridge for up to three weeks.

Next time we are going to throw some of the lavender buds directly into the pear mix, they are edible and add such a depth.  I also want to try using some vanilla beans instead of extract.

Enjoy!

Thursday, August 21, 2014

Easy Apple Butter

One of the great things in life are freshly made jams and jellies.  Last week a friend from church gave me some Gala apples from the tree in her yard.  I made a few fried apple pies, and then I decided that I wanted to make apple butter.  I have always like apple butter that you can get at street fairs like Apple Days in Weston, Mo.  but I had never made any myself.  A few clicks around Pinterest I found a simple recipe for a small batch of Apple Butter.

First you gotta soak the apples, well you don't have to, especially if you know where you got the apples.  I chose to soak mine just in case there were wormies, do a 3-1 ratio of water and plain white vinegar.

After the apples are soaked and measured, you need about 4 lbs of apples, I did a lot more than 4 lbs. I did close to a double batch, a few more than double.  Quarter the apples and take out any icky spots. Add 2 cups of water and 1 cup of apple cider vinegar per 4 lbs.  It seems like a LOT of liquid but it will come out in the end, trust me.

After the apples have cooked and are mushy, it is time to get out that fancy-schmancy food mill.  Do some stretches and start mashing!  This part takes some time, and you really have to use your muscles, but it can be done!  This is why it is so nice having a second set of hands available, you can take turns mashing and giving your muscles a break!

Once everything is milled measure out the pulp.  You need half a cup of sugar for every cup of apple pulp.  I decided to only finish out half the pulp this go round.  So I had 8 cups of pulp, and 4 cups of sugar.  Then add the spices, lemon zest, and lemon juice.  You will need zest and juice of one lemon for every 8 cups of pulp.

Then it's time to simmer it and stir for one to two hours.  Again, a good time to have a second set of hands so you can get a break from stirring.  We also decided to use a bar stool near the stove so we didn't have to stand the whole time.  My buddy Fergus joined me to keep me company while I was stirring.

Our batch didn't take the whole two hours to cook down, it was shortly after the first hour that we realized it was ready to go.  Thick and smooth!

Make sure you follow the steps for canning, you want to make sure everything is sterilized properly so the product can be shelf stable.  Again, having a second set of hands to help get the jars filled and into their hot water bath.

10 minutes is all you need! Pull them out of the water bath and listen for the pop!  Then they need to sit out for 24 hours before you move them around a lot.

Enjoy!!

Tuesday, August 19, 2014

It'll kill you!

Looking back over the years I fondly remember a professor I had my senior year of college.  He was my Residential and Commercial Construction/Auto CAD teacher, and almost every day like clockwork, we as a class learned about something new that could kill you, from faulty buildings, to lightning, to radiation...and my favorite, Cast Iron pans.  Cast iron pans are heavy, but he didn't mean that getting beaned upside the head would do you in, it was the fact that the metal expanded, trapped food particles in the voids when it cools and then allowed those particles to rot before releasing them the next time you used your pan.  I believe that day we were discussing the properties of metals used in construction... This has not stopped me from using my various cast iron pans.  I LOVE my cast iron pans!!!  The more I use my pans for various dishes, the better I get at using them!!!  And having a cast iron scraper (or two) has made the total difference in how often I use them!!!
Front and back of a scraper, love this thing!

Last night I found a recipe for fried apple pies...of course I decided to use my small round cast iron skillet.

And they turned out soooooo good!!!

So this morning I got out some leftover meats and made up some breakfast bowls.  Start by baking your tater tots, or crispy crowns, or regular hashbrowns.  If you ever have leftover french fries from a restaurant, you can rough cut those up and throw them in the oven for this breakfast too.  I found tater tots in the freezer, so that's what I decided to use!  While those are baking chop up whatever meats you want to use.  I had some delicious ham from our neighbor, and some sausage links leftover.  There are two pans, because I didn't want sausage, and he didn't want garlic or basil.


You don't want to start warming the meat in your skillet(s) until your potatoes are almost done.  You can put whatever extras in that you want, mushrooms, onions, peppers, other veggies.  Sky is the limit, whatever you taste buds are wishing for!  Once the meat is warm and a bit browned, then push it off to the side and add your eggs.  He likes his yolks runny, I'm a scrambled or fried over hard girl.

While the eggs are cooking the tots should be done.  Divide them into the bowls (or one bowl if you are flying solo) and top with a cheese of your choice,  his is cheese slices, mine is an italian mix.

Once the eggs are done add them to the bowl, top with the meat/veggies, and of course more cheese!

Then dig in and enjoy!