Showing posts with label breakfast. Show all posts

Monday, November 23, 2015

We love sausage!

On Friday my husband got his first deer of the season.  Super exciting!  I did a post last year about dressing out our his deer.  This year we did it just the two of us, which was interesting because I'm 5 months pregnant, and his deer this year was a gut shot.  If you have ever dealt with a gut shot deer then you know how stinky it can be....and being pregnant with a super sniffer....I posted and laughed about it on Facebook.  Also new this year, instead of making burger out of the entire deer we I wanted some actual cuts, so I found a YouTube video on processing a deer which I am including because I really like the way this guy explains everything.


We kept the loin, tenderloins, ball roast and rump roast, the rest went into bags in a cooler to be put on ice till the next day.  It was almost 10pm when we finished with the carcass...fast forward to Saturday morning....after breakfast we cleared off the counters and got two stations set up for removing silver-skin and connective tissues.  My husband set his station up with a stool...I did tease him about making his pregnant wife stand, so he gave me the spot with the seat.  Such a sweetie.  It took us all day (it felt like all day) several hours to trim everything up, and about an hour more to grind it up.  Two pounds of ground went into a vac seal bag destined for chili, 2 lbs is in a bag in the fridge for the Bulk Venison Breakfast Sausage and 3 lbs is in another bag in the fridge for the Venison Summer Sausage

Because the summer sausage takes over 24 hours to make I am starting with that.  Well I was going to start with that!  Our deep freezer is nice and full of meat right now.  We went in with our neighbors and got 1/4 side of beef.  So I am using a pound of the hamburger for this recipe.  Course the packages we reiceved have two pounds per in the hamburger, so I will make something else with the extra pound, after it has thawed.  I got it out last night and left it in the fridge overnight, and it's still frozen solid....gonna leave it on the counter while I move on to the Breakfast Sausage....

My first step today was to put on my new apron...it's super cute, and lots of pockets!  Thank you Sharon over at MS Purses for whipping it up for me!  She makes purses mostly, but she is a very talented seamstress!!!!

Gotta protect that bump!
None of the components for the breakfast sausage are frozen so I can just dive right in!  I got the smallest package of pork that I could, but there was still more than I needed, I'm sure I will find something else to do with it....so gather your ingredients and lets get started!  I want to note that we opted to make a partial batch of the sausage until we know if we like it or not.  There is nothing worse than making something in bulk only to find out it's not that great!


Then measure out your ingredients....


And remove any jewelry then dig in with both hands, it's cold, but it's the best method.  I didn't get any pictures because my hands were covered in stuff....after you have it mixed you can use a scale or just eyeball it out into 1 lb packages.


 We didn't do a full recipe so we ended up with 2-2/3 lbs of breakfast sausage.  Two pounds got sealed up with my handy vacuum sealer!  I LOVE this thing!!!!!


The vacuum packages are headed to the freezer, and the leftover chunk is going to be made into biscuits and gravy soon!


The hamburger is FINALLY thawed out so I can now make the summer sausage.  We are doing a full recipe of this because it never lasts around our families.  So as always, gather everything you need.


Combine everything in a big bowl, I couldn't find my onion powder, so I used chopped onions and increased it to 2 teaspoons


dig in with your hands and get it all mixed up!


Once it is all combined you can start the sausage making process!


Divide it out, I chose to do 1 pound sausages


Form a log packing it as tightly as you can, then wrap with foil, shiny side in.  I like to give my ends a little twist to help pack the sausage even tighter,  don't twist too tight or you risk ripping the foil.  Then it goes in the fridge for 24 hours....


Once the 24 hours has passed you preheat the oven, and pierce the underside of the sausage and put them in a broiler rack, or in my case a large sheet pan with a wire rack on top, and they cook for an hour and a half...now is when I wish I could let y'all smell the wonderfulness!


We went to Cabela's today and saw the summer sausage casings, which is a bit too late for this batch, but maybe next time I can put it in a casing instead of foil.  Enjoy!

Tuesday, August 19, 2014

It'll kill you!

Looking back over the years I fondly remember a professor I had my senior year of college.  He was my Residential and Commercial Construction/Auto CAD teacher, and almost every day like clockwork, we as a class learned about something new that could kill you, from faulty buildings, to lightning, to radiation...and my favorite, Cast Iron pans.  Cast iron pans are heavy, but he didn't mean that getting beaned upside the head would do you in, it was the fact that the metal expanded, trapped food particles in the voids when it cools and then allowed those particles to rot before releasing them the next time you used your pan.  I believe that day we were discussing the properties of metals used in construction... This has not stopped me from using my various cast iron pans.  I LOVE my cast iron pans!!!  The more I use my pans for various dishes, the better I get at using them!!!  And having a cast iron scraper (or two) has made the total difference in how often I use them!!!
Front and back of a scraper, love this thing!

Last night I found a recipe for fried apple pies...of course I decided to use my small round cast iron skillet.

And they turned out soooooo good!!!

So this morning I got out some leftover meats and made up some breakfast bowls.  Start by baking your tater tots, or crispy crowns, or regular hashbrowns.  If you ever have leftover french fries from a restaurant, you can rough cut those up and throw them in the oven for this breakfast too.  I found tater tots in the freezer, so that's what I decided to use!  While those are baking chop up whatever meats you want to use.  I had some delicious ham from our neighbor, and some sausage links leftover.  There are two pans, because I didn't want sausage, and he didn't want garlic or basil.


You don't want to start warming the meat in your skillet(s) until your potatoes are almost done.  You can put whatever extras in that you want, mushrooms, onions, peppers, other veggies.  Sky is the limit, whatever you taste buds are wishing for!  Once the meat is warm and a bit browned, then push it off to the side and add your eggs.  He likes his yolks runny, I'm a scrambled or fried over hard girl.

While the eggs are cooking the tots should be done.  Divide them into the bowls (or one bowl if you are flying solo) and top with a cheese of your choice,  his is cheese slices, mine is an italian mix.

Once the eggs are done add them to the bowl, top with the meat/veggies, and of course more cheese!

Then dig in and enjoy!


Tuesday, December 24, 2013

A bit of Holiday noms

There are very few people in this world that don't like Biscuits and Gravy, I was raised by two of them.  This is why it wasn't until I was an adult that I first tried, and fell in LOVE with B&G, and learned how to make it.  Which is good, because my DH also LOVES B&G.  He asks for it regularly.  We have even gotten desperate enough to chop up links or patties to make it!

Well here I am on Christmas Eve morning, my DH still snug in bed, and me awake with my pooches and playing on Pinterest when I came across something sooooo yummy I just had to jump up and start cooking, before I even sipped my first cup of joe.  Biscuit and Gravy Casserole.  The bloggers words made me hungry, so here goes nothing!

Cut up the biscuits and put half of em in a pan, don't forget to grease it!  Those go in the oven for 10 min at 400 degrees!

Cook the sausage 

Make gravy per usual...

pour yummy gravy over precooked biscuits

top with the other half of the cut up biscuits

then cook for 15-20 minutes or until golden brown

grab a fork and dig right in!

Now I need to figure out what to do on Christmas morning!

Thursday, May 30, 2013

Old bread? Make a casserole!

There once was a girl, and this girl loved a good sale.  So one day she found a great bargain for bread, and knowing that the price was just right decided to buy two loaves.  Even though she and her DH didn't eat that much bread.  Bread keeps in the freezer!  She had seen her mother do it time and time again.  So once the first loaf was eaten she got the second loaf out of the freezer and put it in the fridge...unfortunately that loaf ended up stale and partially hard...oh well...

I kept that loaf in the fridge for a month...yes month old bread...yummy...I was planning on making it into croutons, or bread crumbs...instead I got a craving for a make ahead breakfast casserole!   Most of the time I make breakfast casserole with potatoes, tater-tots, potatoes o'brian, you get the idea.  But I have a recipe for overnight casserole that needs bread...of course I don't usually follow recipes, even ones that I created.

Start with roll pork breakfast sausage, brown it then add onion

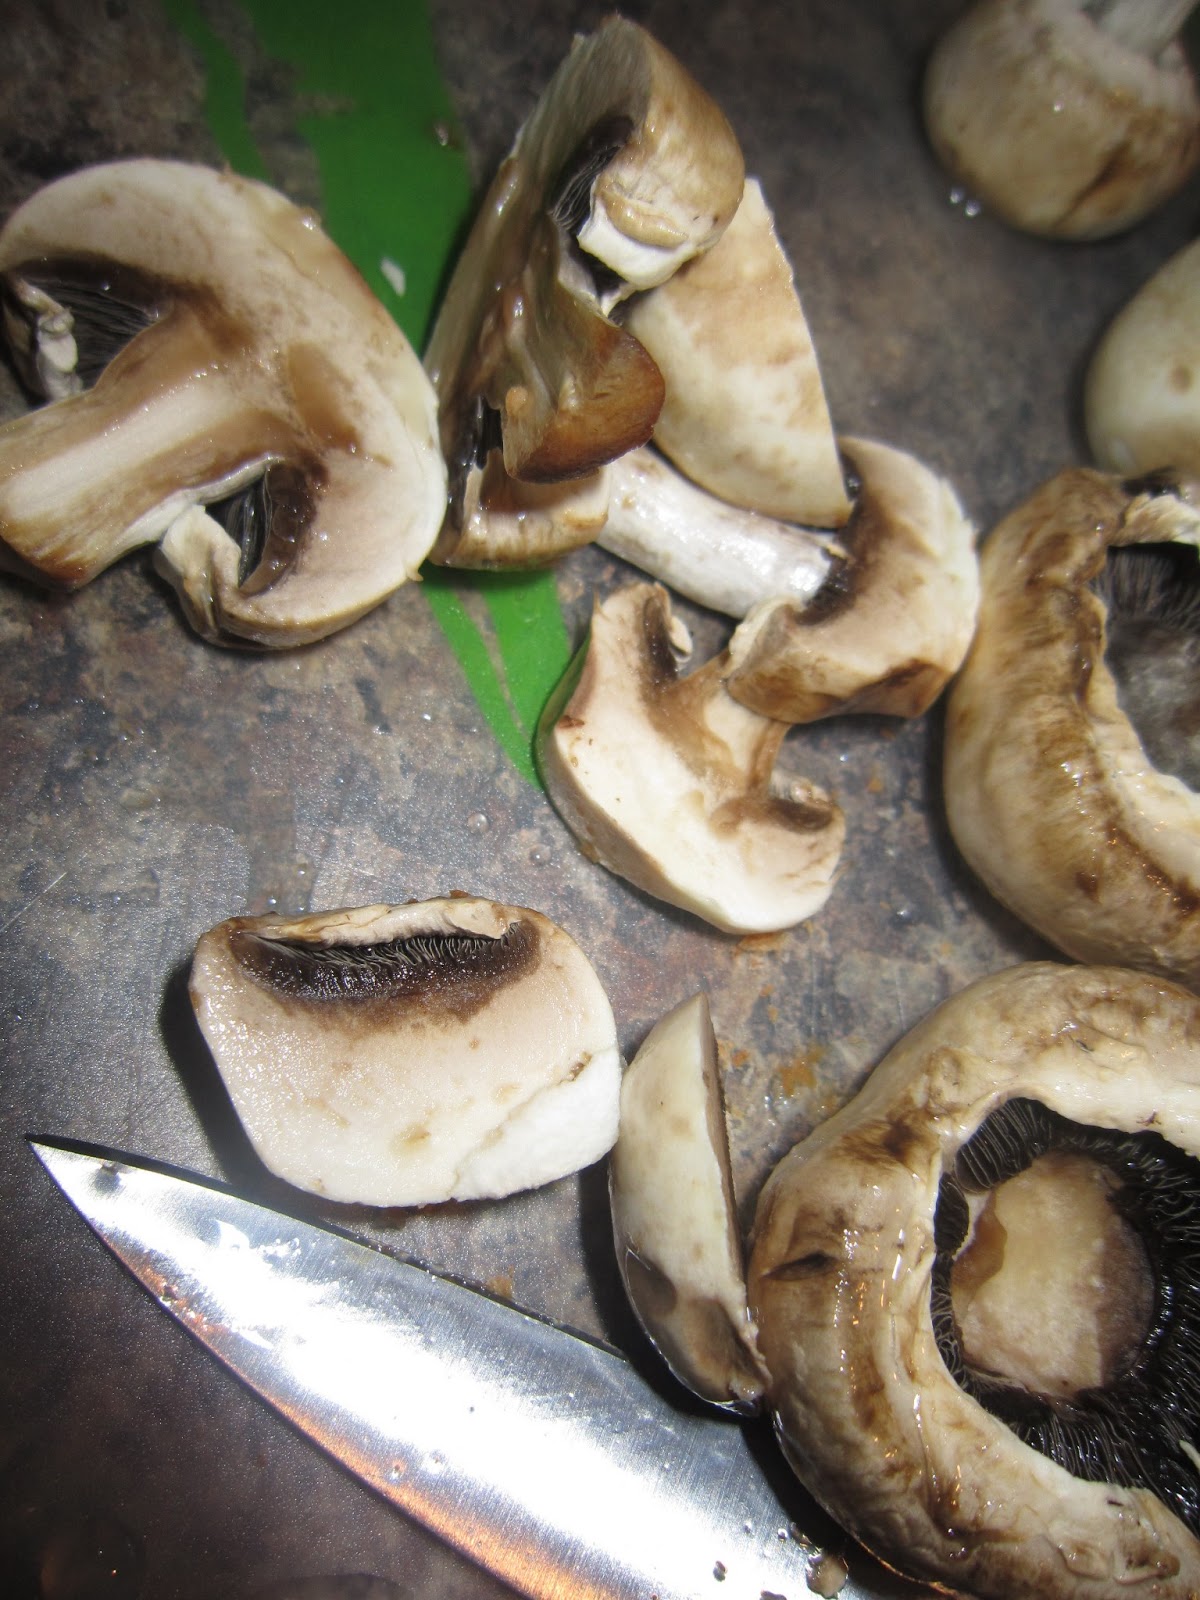
Then clean and slice some mushrooms

While that is cooking slice the bread, of course you don't have to use old bread, any bread will work

Combine the sausage and the bread, then dump it into a large pan, that you greased...and press it down.

In that same bowl combine a cup of milk, 8oz  sour cream, and 8 eggs, I used my stick blender just because I can, and whipped it up.  Then added powdered mustard, smoked bacon chipotle sea salt, and black pepper, then whipped it up again before pouring it over the sausage bread mixture.

Top with cheese

Cover it with foil and stick it in the fridge.  The next morning bake at 325 for 60 minutes or so.


Enjoy!

Wednesday, April 17, 2013

It's a gloomy day, time to bake away!

As I've mentioned on other posts, Pinterest will be the death of my current wardrobe.  So many recipes, so little time...well used to be little time, but now I'm home more than I'm not so I can experiment in the kitchen, and blog about it, even more!

Photo from http://butteryum.blogspot.com
Today is the day I have been waiting for. Overcast, a bit cold, and rain possibly even thunderstorms!  Last week I wanted bananas, so I bought three, two were already more ripe than I care to eat, and bruised.  So I left them on the counter until today, and now they are PERFECT for banana bread.  But wait, what did I find on Pinterest?

Oh yes, a delicious banana cake!  So now I have something new to try!  Click here for the recipe.

To start as always, gather your ingredients, I know it seems silly, but getting everything ready will make sure that you have everything you will need!

Then turn on the oven, to 375

I know that the original recipe says this can be done by hand, but I prefer to use a blender to make sure it is smooth.  Nothing is worse than getting chunks of butter, or banana in an otherwise perfect piece of bread, or in this case, the cake.  Start with the butter, sugar, sour cream and egg.

When it is smooth add the vanilla and the bananas.  When you are using the blender it is not necessary to pre-smash the bananas.  Which makes this an easier way to make this recipe.

While the bender is doing it's thing, grab a separate bowl, and mix the flour, baking soda and salt.
As most people know, I can never follow a recipe as written, I noticed with this recipe there is no cinnamon, or allspice, so I added 1/2 t cinnamon, and 1/4 t allspice to the flour mixture before pouring the pureed banana mixture into the bowl.

At this point mix, scraping the bottom of the bowl well and pour into a greased 8x8 pan.  Bake for 20 minutes.


The cake has to cool completely before frosting.  Ah the frosting, you can't go wrong with vanilla frosting!  I had everything on hand, except for the heavy cream.  Instead I am going to use milk, with some powdered milk added in.  This way it's thicker than regular milk, but a lot less fattening than heavy cream.  And because this frosting recipe only calls for 1/4 cup heavy cream, I'm going to make extra, then turn that into hot chocolate!

Again, I used the blender, well the food processor attachment this time, it worked really well!

Then I simply poured the icing over the mostly cool cake, I did not want to wait!


As soon as the icing is set I am all over this cake!!!
Enjoy!

Saturday, December 10, 2011

Breakfast for lunch


To date, although it is a short period of time, all of the food I have blogged about has been a dinner, or weekend lunch type of thing.  I finally got a clear and concise request from my boyfriend.  He wanted pigs in a blanket.  Not the hotdog and cheese wrapped kind, but breakfast pigs in a blanket.  So I am in uncharted territory attempting to make just that, all before having my first cup of coffee. (We got a late start today, another perk of no classes.)

Normally my pancakes are thick, very thick. So for this application I knew I had to make them thinner, more like a crêpe. I do “cheat” when it comes to pancakes, I use Bisquick.  So I followed the recipe on making thinner pancakes and added an extra 1/3 cup of milk, then a splash more.  They turned out very crêpe-esque. 

I only cooked 7 sausages, partly because I don’t usually eat sausage, so there were a lot more than 7 pancakes.  I used a toothpick to secure the pancake to the sausage. 

I then came up with the brilliant idea to use apple butter as the filler for the rest.  It was like eating an apple pie for breakfast/lunch.  

If you don’t do apple butter then you can always use another type of fruit preserve, or jelly.