Showing posts with label snack. Show all posts

Friday, November 21, 2014

One of the many things to do with Venison

Venison has been processed and the ground portions are sitting in my fridge in my turkey pan....being that Thanksgiving is a week away, I needed to do something to get it OUT of my turkey pan.  I looked up recipes for making venison summer sausage and settled on one.

So I went to the local grocery store to get the stuff I needed to make summer sausage, and to get some beef fat to add to the ground venison.  One site suggests a 10% ratio of fat to meat, so for 20 lbs of ground meat I needed 2 lbs of beef fat.  The butcher was more than happy to give me as much beef fat as I wanted, for FREE!  Which makes the overall cost of our venison uber cheap!!!  As in pennies a pound. We used the same grinder to grind up the beef fat.  And while DH was slicing up the fat chunks, and grinding away I started mixing up the sausage.

For this recipe I used three pounds of venison, and two pounds of ground beef.

One of the ingredients is fresh ground pepper, and I wasn't about to take the time using my hand grinder, so I dumped the peppercorns in my spare coffee grinder and went to town.


The spices and water get mixed together in a bowl and then added to the meat.  I did increase the garlic to 2 tsp instead of the 1 tsp they called for.  I LOVE garlic.


The next step is to mix for two minutes, so I removed my rings, and washed up real good....then dug in with both hands

Once two minutes is up, time to cover with plastic wrap and allow to sit in the fridge at least overnight, but no more than three days, mixing once a day.


Set the oven to 350,


and start forming the logs, about 2" in diameter.


You will also need either a broiler pan, or a pan with a rack over it.  If you don't have access to either of those things, you can put a drip pan under the middle rack and place the sausages directly on the oven rack.  Just remember you will have to clean the rack afterwords.


After the sausage has baked for an hour and a half, remove from the oven and take them out of the foil and put them on paper towels to absorb the rest of the fat.


Then once cooled (or while hot if you just can't wait) slice and serve!


Happy Snacking!

Sunday, April 14, 2013

Pizza snack attack!

Nothing gets me hungrier than looking at Pinterest   Hours can be wasted looking, searching and pinning.  Today's snack comes from Pinterest   I'm not sure exactly who the original recipe comes from.  There are many floating around out there.  I have a board for just about everything!  I do shamelessly pin my own blog posts to Pinterest....so follow me. :0)

As I'm sure you can guess from the title, I made pizza something, pizza bites to be exact.  Super simple, something the DH or kids if you have them can help with!  And seriously this can be a full meal.  Any type of stuffing can be used.  After eating these my DH even said, you know, you could even do a cheeseburger stuffing...That will be happening later this week!!!  He's so smart!  I will blog that later!

The ingredients are simple,
One can (10 each) can biscuits 

Cheese, I used shredded pizza cheese, but you can use any type of cheese (block or shredded)
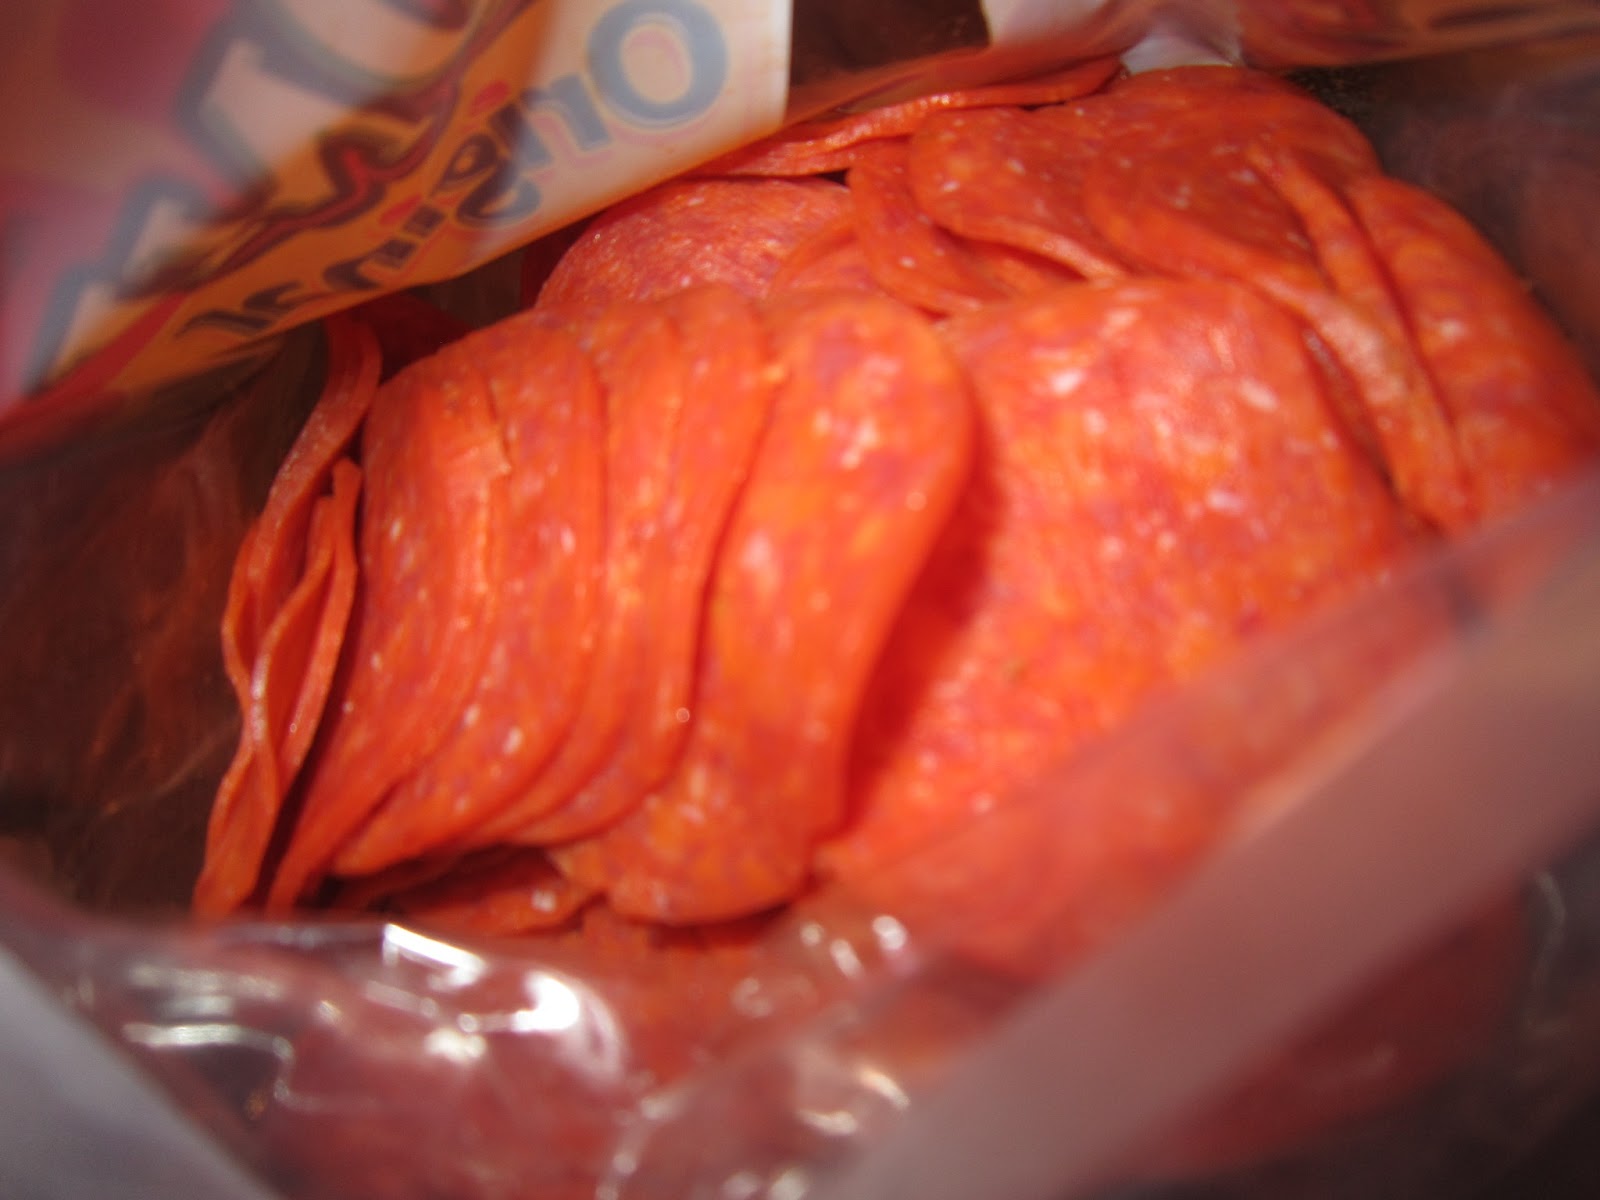
Toppings to stuff into it, I used pepperoni


Preheat the oven to 425. Smash the biscuit flat, but keep the round shape,  make sure to wash your hands first of course!  Layer the toppings and cheese.  

Fold into a pouch of sorts,

put folded side down into a greased pan.

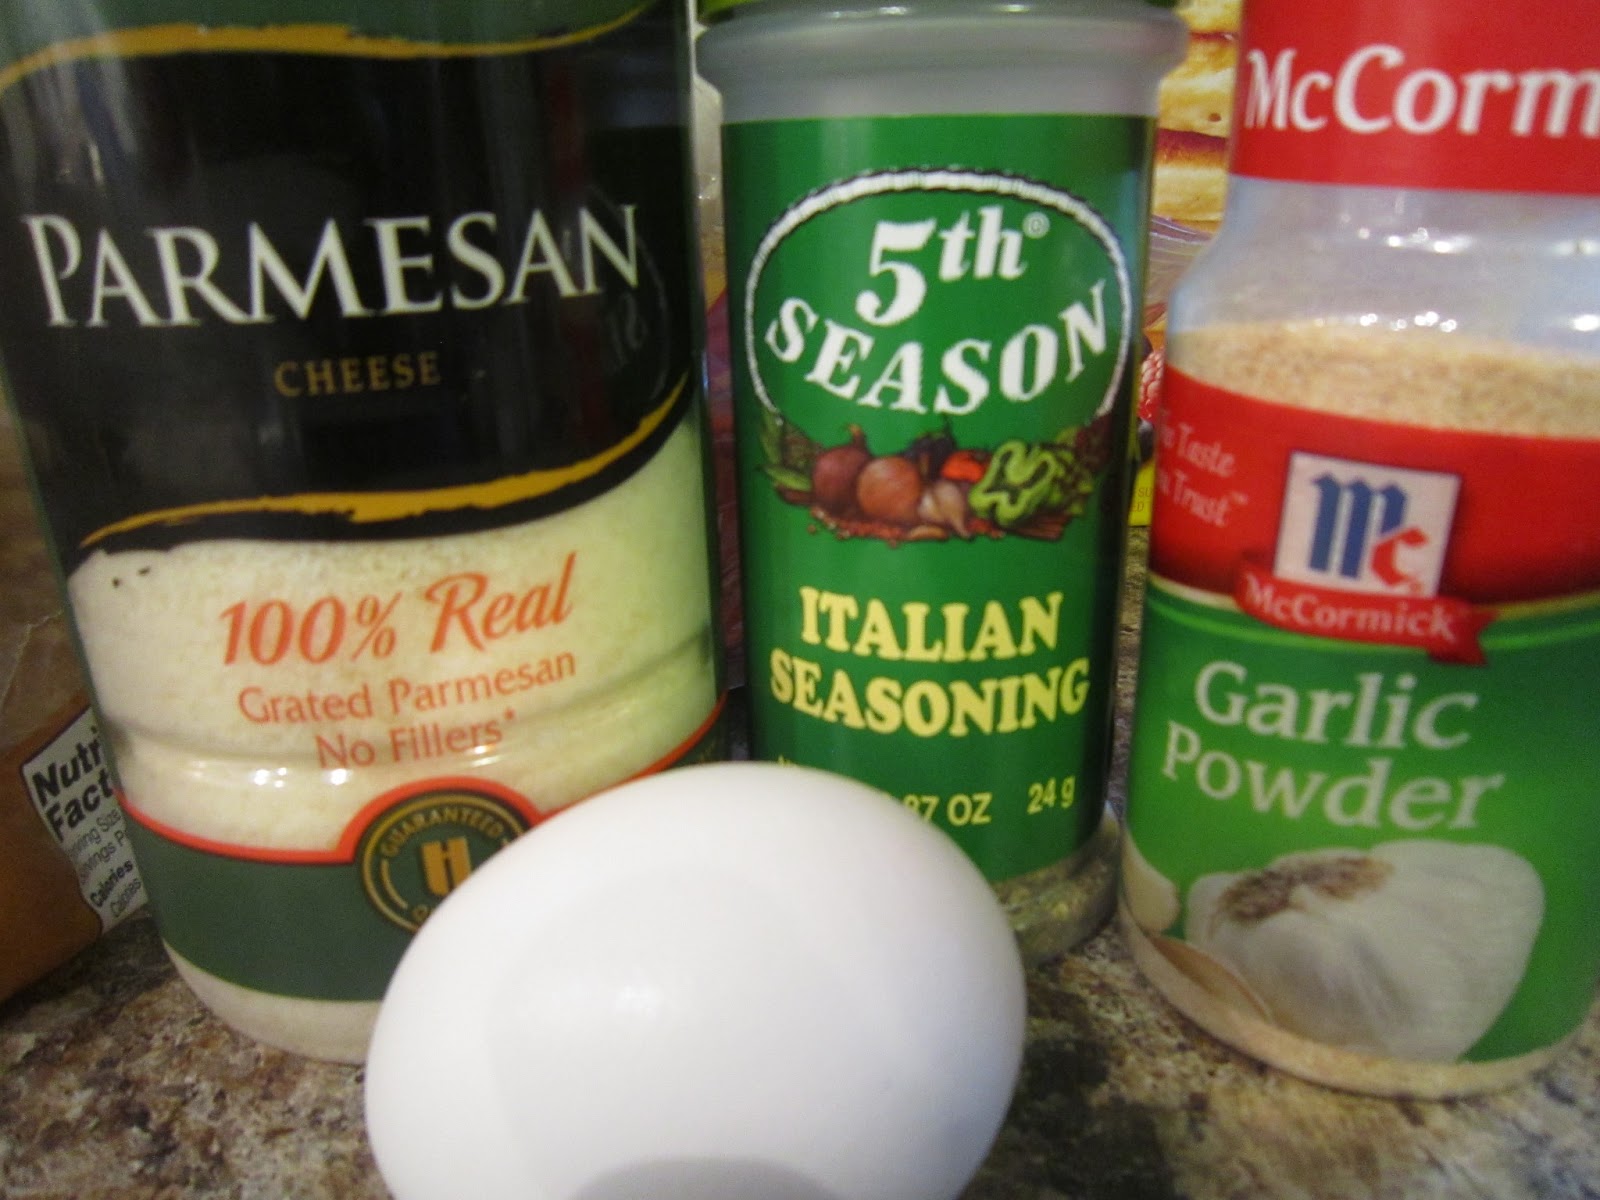
Then you need an egg, Italian seasoning, garlic powder, and Parmesan cheese.  Of course if you aren't doing pizza bites you change up the seasonings to match what you are making.

Brush with the beaten egg.

Sprinkle the tops with the seasonings.

Bake for 18 minutes

The tops will be brown.

Serve with pizza sauce for dipping, or a different kind of dipping sauce.
Enjoy!  I know we did!!!

Saturday, July 21, 2012

Oh the things to come!

My neighbor bought a dehydrator so we could make chicken treats for our dogs (it's being shipped and will be here next week hopefully).  They love them and store bought ones can be dangerous, and of course expensive!  Making dog jerky is simple; slice and dry.  They don't need the extra flavorings, nor should they really have the extra seasoning...

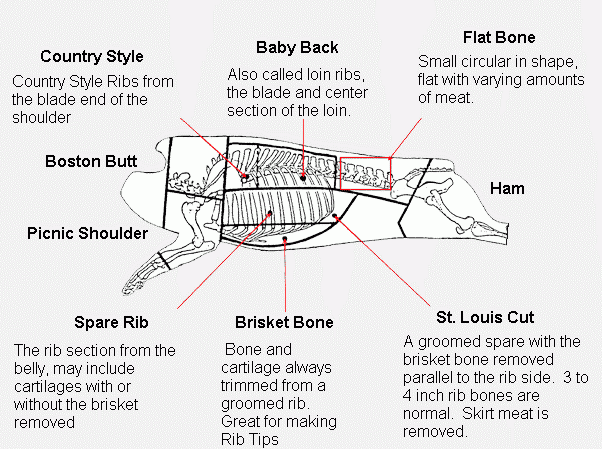
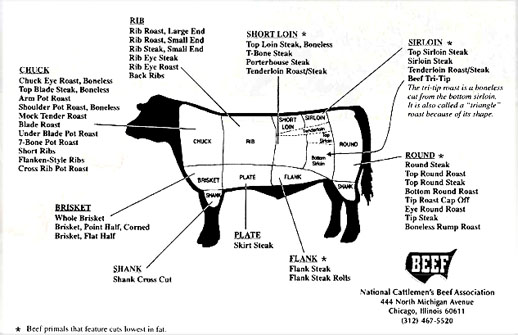
All this talk about making jerky for the dogs gets me craving it for myself.  Doesn't help that my DH has been getting some at work and talking about it.  I'm sure he would share it, except it is apparently very spicy, which is why he gets it by default.  I started researching jerky making, there is a LOT of information out there!  So far I have found the best cuts of meat for pork and beef for making jerky

Pork:
Tenderloin
Loin
Fresh Ham
Butt
Sirloin
Cushion meat


Beef:
Top Butt Sirloin
Flap Meat
Flat Iron/Top Blade
Top Round
Flank Steak
Rump Roast

Approximately 4 pounds of meat will yield 1 pound of jerky.  There are also various marinade mixes you can go out and purchase to make jerky at home, but what fun is that?  I did find several variations of jerky marinade that I do want to try, although my end goal is to create my own mixture of flavors for some awesome jerky that I can truly call my own. 


So, stay tuned for some meaty goodness.  I plan on tackling beef, and pork jerky (bacon style) and maybe some other proteins.  And of course other delicious snacks made possible with a dehydrator!

Friday, July 20, 2012

I want a midnight snack!

It's just after midnight here, and I'm craving something crunchy, maybe a bit salty...so I raided the fridge...not much there...

BUT...I did find 3 beautiful cucumbers and a half an onion...so it's time for Cucumber and Onion Salad.  This can be made once, and as long as you keep adding cucumbers and onion you can keep this salad going all summer long!  So I'm going to make some for snacking on tomorrow!

Gather your cucumbers and onion, I'll be adding more onion tomorrow but for now I only have a half of one.

I am a lucky owner (thanks mom and dad) of a mandolin.  Makes slicing stuff SOOOOOOO much easier.  And safer for my fingers too!

Once it's all sliced, cucumbers and onion plop them in your container (with lid).

In a large measuring cup add 1 cup white vinegar, 2 cups water, and 1/2 cup sugar stir it up!
                                                                                                          
Sprinkle 1 tablespoon pepper and a dash of salt over your cucumber and onions then pour the liquid on top!

Pop that lid on, and carefully turn it to mix it all up. You might want to do this over the sink as my container wasn't totally leak proof.


I also made a second more spicy batch for my DH using Turmeric and Crushed Red Pepper.  There was enough liquid left after I filled the first container to fill the second smaller container.


Refrigerate overnight and ENJOY!  Keep adding Cucumber and Onion as the "supply" gets eaten!