Wednesday, April 17, 2013

It's a gloomy day, time to bake away!

As I've mentioned on other posts, Pinterest will be the death of my current wardrobe.  So many recipes, so little time...well used to be little time, but now I'm home more than I'm not so I can experiment in the kitchen, and blog about it, even more!

Photo from http://butteryum.blogspot.com
Today is the day I have been waiting for. Overcast, a bit cold, and rain possibly even thunderstorms!  Last week I wanted bananas, so I bought three, two were already more ripe than I care to eat, and bruised.  So I left them on the counter until today, and now they are PERFECT for banana bread.  But wait, what did I find on Pinterest?

Oh yes, a delicious banana cake!  So now I have something new to try!  Click here for the recipe.

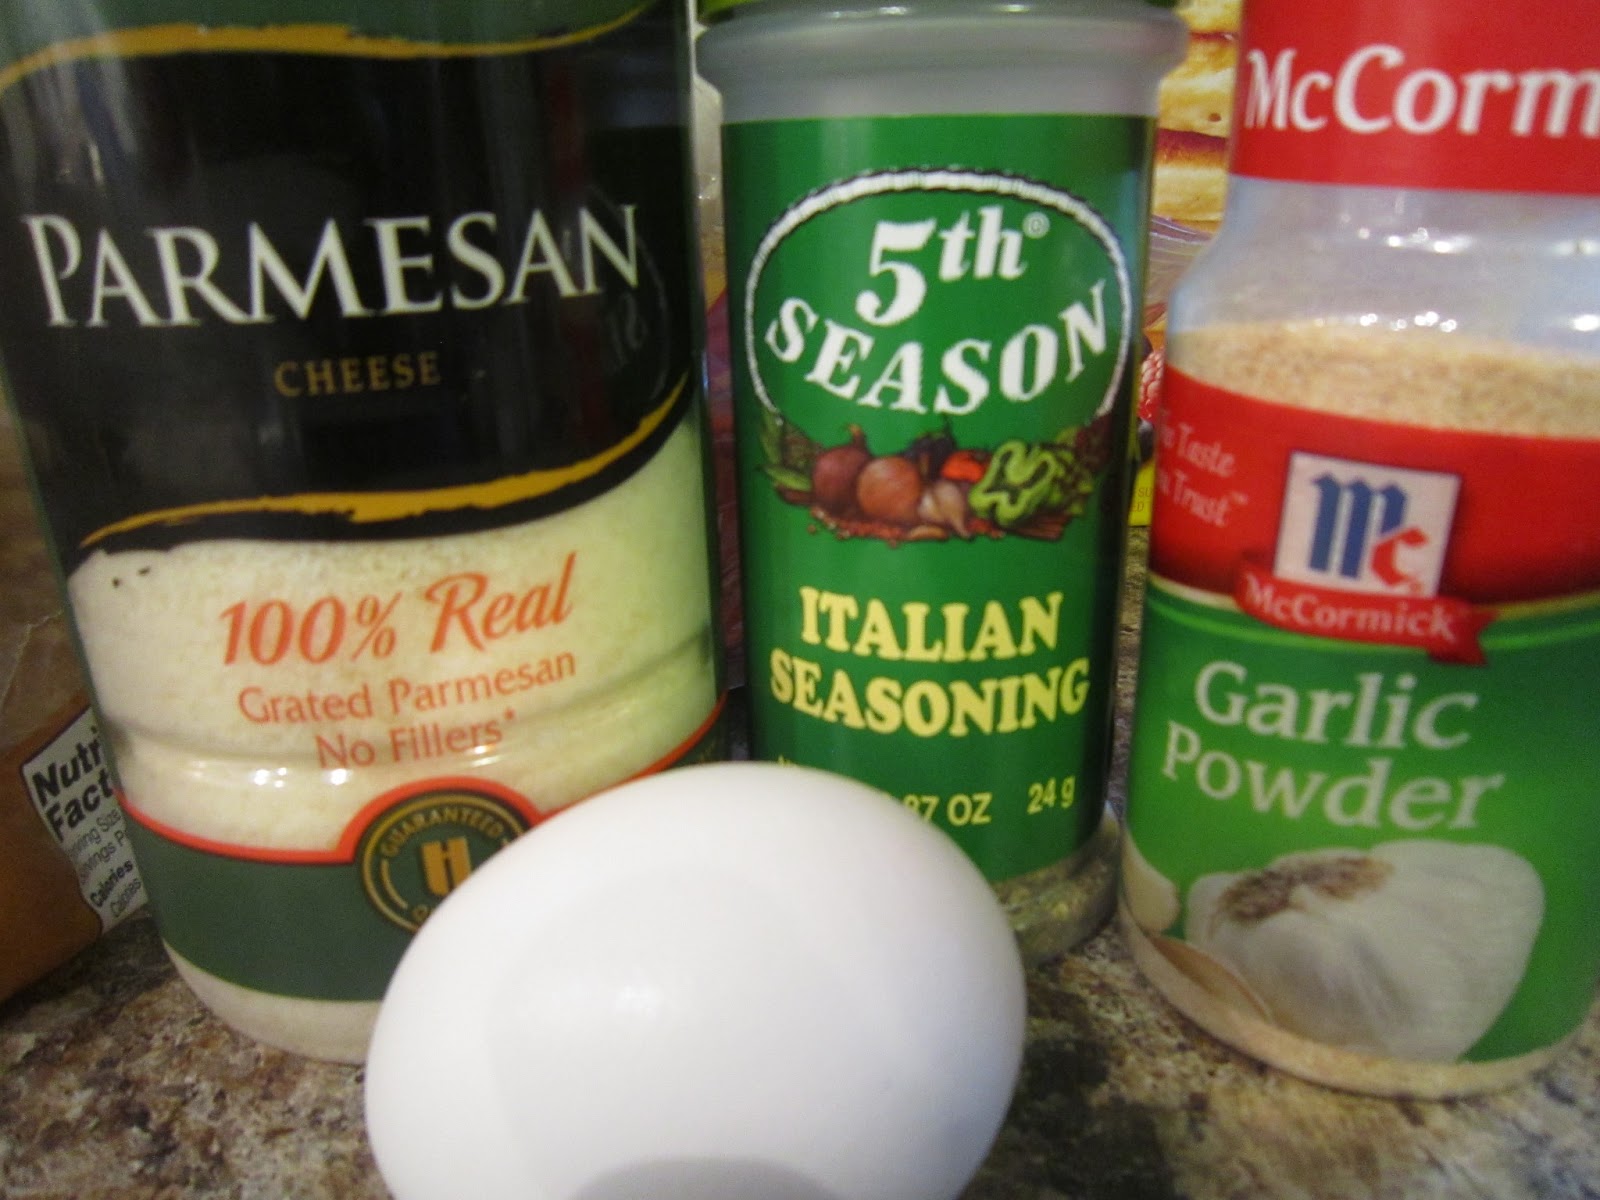
To start as always, gather your ingredients, I know it seems silly, but getting everything ready will make sure that you have everything you will need!

Then turn on the oven, to 375

I know that the original recipe says this can be done by hand, but I prefer to use a blender to make sure it is smooth.  Nothing is worse than getting chunks of butter, or banana in an otherwise perfect piece of bread, or in this case, the cake.  Start with the butter, sugar, sour cream and egg.

When it is smooth add the vanilla and the bananas.  When you are using the blender it is not necessary to pre-smash the bananas.  Which makes this an easier way to make this recipe.

While the bender is doing it's thing, grab a separate bowl, and mix the flour, baking soda and salt.
As most people know, I can never follow a recipe as written, I noticed with this recipe there is no cinnamon, or allspice, so I added 1/2 t cinnamon, and 1/4 t allspice to the flour mixture before pouring the pureed banana mixture into the bowl.

At this point mix, scraping the bottom of the bowl well and pour into a greased 8x8 pan.  Bake for 20 minutes.


The cake has to cool completely before frosting.  Ah the frosting, you can't go wrong with vanilla frosting!  I had everything on hand, except for the heavy cream.  Instead I am going to use milk, with some powdered milk added in.  This way it's thicker than regular milk, but a lot less fattening than heavy cream.  And because this frosting recipe only calls for 1/4 cup heavy cream, I'm going to make extra, then turn that into hot chocolate!

Again, I used the blender, well the food processor attachment this time, it worked really well!

Then I simply poured the icing over the mostly cool cake, I did not want to wait!


As soon as the icing is set I am all over this cake!!!
Enjoy!

Tuesday, April 16, 2013

What have I gotten myself into?

As far as first projects go, this one seems never-ending!  Not that I'm complaining per-say.  I finally got a chain laid out so I can see how wide this afghan will be using a row of 10.  It's just wide enough for one person...and I then realized that using 10 across and the 9 high I was originally planning would not be big enough for me.  So after doing some measuring I decided to go 10 wide and 13 high.

I will need 130 squares...

Only 92 more squares to go... It seems like a lot, but it will be worth it in the end when I can have something so colorful and fun that I made!  It's so much fun choosing the color combinations.  I have several multi-colored yarns to choose from, and the traditional plain yarns.  There is one skein of yarn that I will be using on a different project later down the road, but I couldn't help but put some of that beautiful blue into this afghan.


My rat terrier Storm is usually the one that can be found under a blanket with me, my mutt Fergus usually just lays on top.

This afghan is proving to be no different. He is already all over it!  And you can also find him snuggled up right next to me while I crochet up some squares. Which is what I'm going to go back to working on!

Sunday, April 14, 2013

Still crocheting along!

I finally had the chance to go to my neighbor's house and see the "room we don't speak of" and get more yarn. Oh goodness!  That is a LOT of yarn!!!!  I'm so jealous of her fabulous selection!  So I brought home several partial skeins and a few full skeins of patterned yarns, or super colorful yarns.  I think I may be set on yarns, at least for a little while!

Today we went to Cabela's, there is an upcoming camping trip, and we need supplies.  So I took the basket of completed squares with me so I could start the binding process I decided to use.  The original pattern calls for whip-stitching the squares together to form a row.  The using the main color do a row of half double crochets between each row with a final border of half double crochets around the entire perimeter.  I however have mastered the double crochet, so that's what I am using.


After doing over 20 squares I decided to change the pattern just a bit, it's all part of making this my own afghan.  Instead of doing a chain 4 and create a circle and DC into the center I found a video on how to make a magic circle.  So now my stitches are even, equal, and you can't really see the opening in the center.  As I am still new to crochet, trying to describe the creation of the magic circle I'm going to post the video, she uses a single crochet but it works to do the chain 3 and 16 2dc for the granny squares.


I am going to attempt to show and explain the one sided border that I am using to attach the squares together.

First, grab a completed square, and tuck the ends of the yarn in weaving it among the completed stitches and snip so the square is "pretty"

Then, in the ch2 space slip the crochet hook in, and grab a loop of the main color.

Bring it through and ch3 to start the border.

Dc12 (includes the ch3) to the end of the square.  Make sure you leave a tail long enough to whip stitch it to the next square.

Below is a chain of squares I started on earlier today.

Have fun creating!

Pizza snack attack!

Nothing gets me hungrier than looking at Pinterest   Hours can be wasted looking, searching and pinning.  Today's snack comes from Pinterest   I'm not sure exactly who the original recipe comes from.  There are many floating around out there.  I have a board for just about everything!  I do shamelessly pin my own blog posts to Pinterest....so follow me. :0)

As I'm sure you can guess from the title, I made pizza something, pizza bites to be exact.  Super simple, something the DH or kids if you have them can help with!  And seriously this can be a full meal.  Any type of stuffing can be used.  After eating these my DH even said, you know, you could even do a cheeseburger stuffing...That will be happening later this week!!!  He's so smart!  I will blog that later!

The ingredients are simple,
One can (10 each) can biscuits 

Cheese, I used shredded pizza cheese, but you can use any type of cheese (block or shredded)
Toppings to stuff into it, I used pepperoni


Preheat the oven to 425. Smash the biscuit flat, but keep the round shape,  make sure to wash your hands first of course!  Layer the toppings and cheese.  

Fold into a pouch of sorts,

put folded side down into a greased pan.

Then you need an egg, Italian seasoning, garlic powder, and Parmesan cheese.  Of course if you aren't doing pizza bites you change up the seasonings to match what you are making.

Brush with the beaten egg.

Sprinkle the tops with the seasonings.

Bake for 18 minutes

The tops will be brown.

Serve with pizza sauce for dipping, or a different kind of dipping sauce.
Enjoy!  I know we did!!!

Monday, April 8, 2013

A new type of design

Road trip!  Two whole days in the car, what to do?  I decided to finally learn how to crochet.  My super awesome neighbor came down on Thursday before my DH and I left and I picked out a pattern that can be found here or just click on the picture!

Now this is not my afghan, I'm still working on mine.  But as a beginning projects go it's a "fast" one.  Each square is completed on it's own so there is a sense of completion, and it's so fun trying new patterns using color within each square.

Above is a picture of some of the squares I have completed in the last few days, I already have a yen to get more yarn, so I will be raiding my neighbors house tomorrow in search of "weird" and different colors!

More to come, so check back soon to see the progress!