Showing posts with label onion. Show all posts
Showing posts with label onion. Show all posts
Monday, January 25, 2016
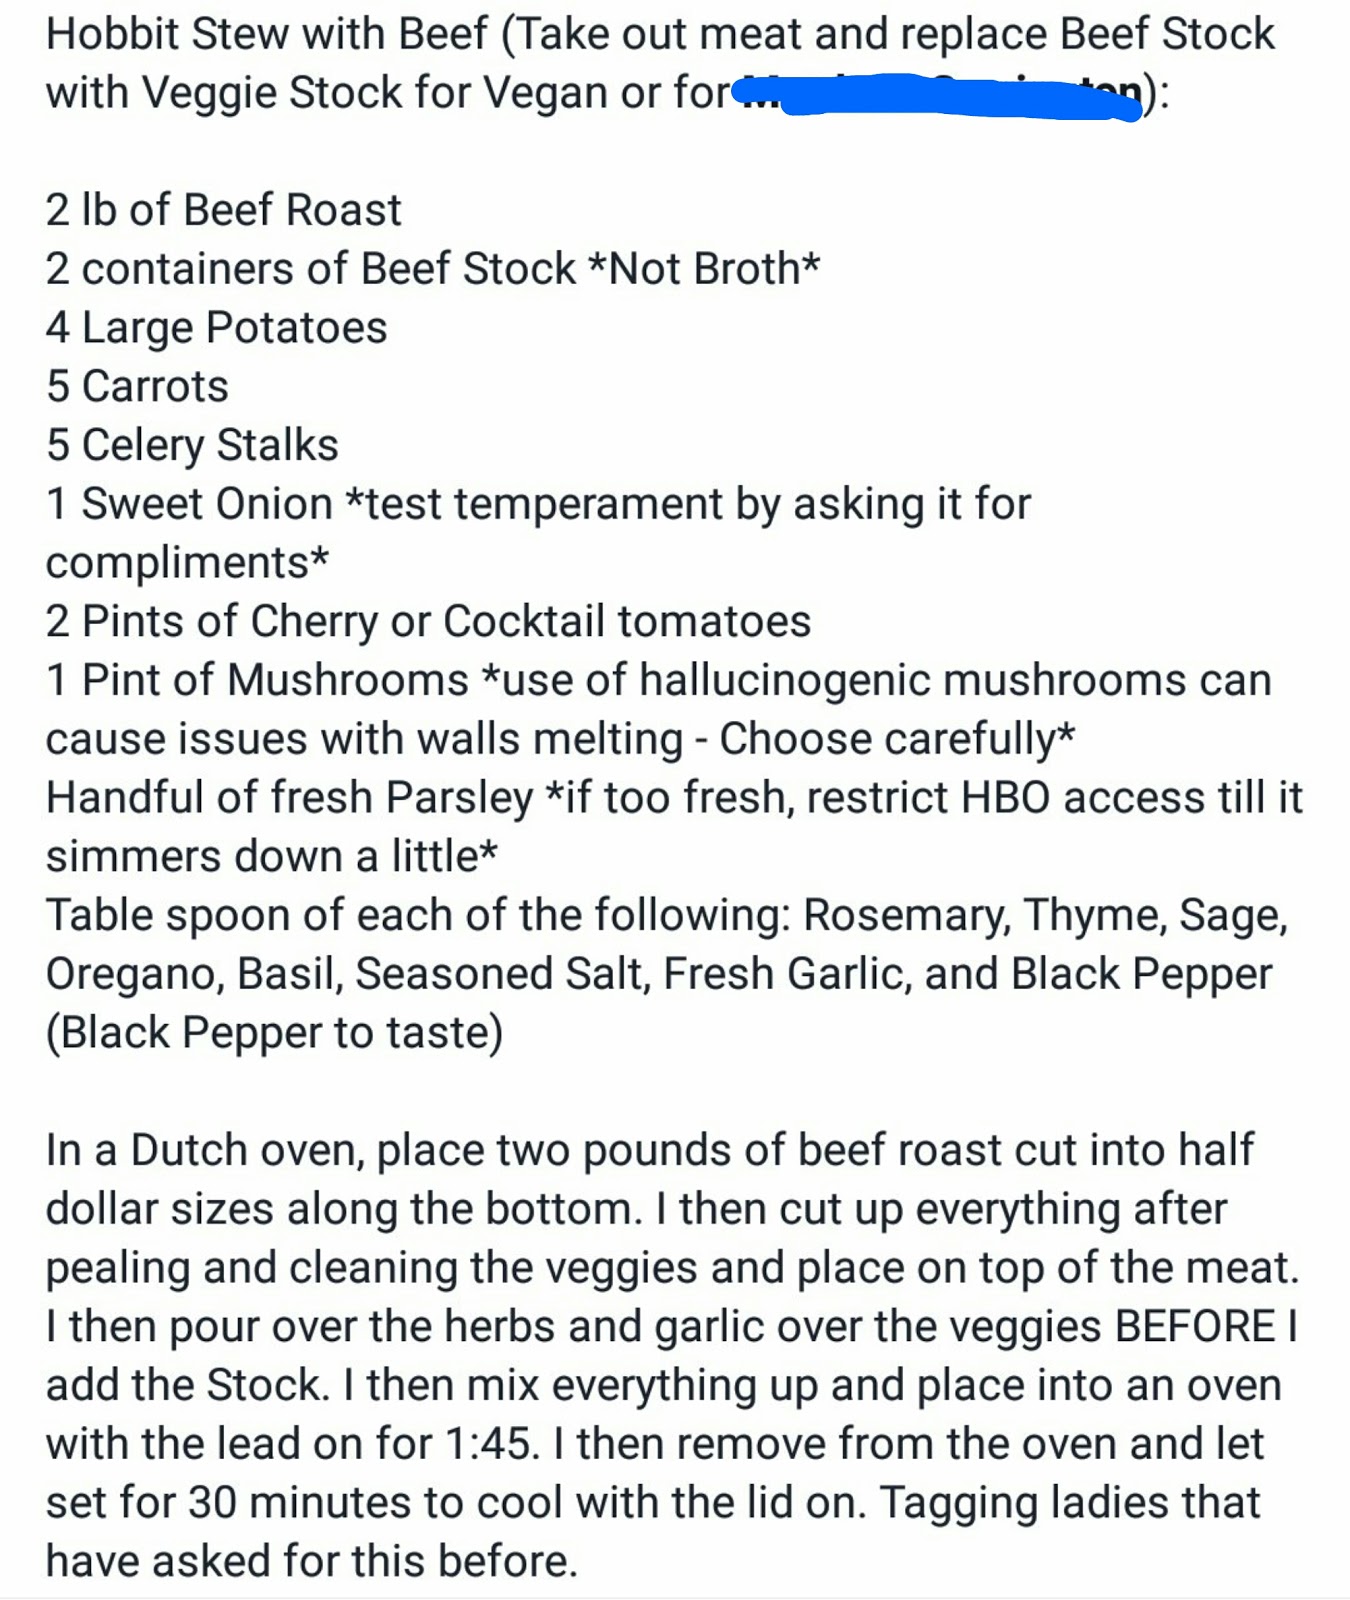
Hobbit Stew
I have several friends that are really good cooks, at least their pictures of food look AMAZING! And sometimes I'm lucky enough to get a recipe! Today is one of those days! My friend Derek has made this stew before and I'm pretty sure I drooled on my phone and begged for the recipe....yesterday he wrote it out and tagged me in the post! So tonight we are eating Hobbit Stew!

Tuesday, November 10, 2015
Recipes are guidelines, right?
I've said it before. I hardly ever follow a recipe exactly. Even when baking I add more spices than required because I love flavors! Tonight my pregnant self decided to try a new recipe I found on Pinterest. The name of the blog that featured this yummy photo is Bacon, Butter, Cheese & Garlic. The recipe? Baked Italian Chicken And let me tell you, the picture is SUPER enticing! See?
You want to make it now too don't you? And remember I'm pregnant, duh, so any blog that features some of my favorite ingredients must be a hit! The only issue I had with this when I started gathering my ingredients was that I noticed that the recipe doesn't include bacon....an oversight I'm sure! I also switched out minced garlic for the garlic powder.
So I decided to add bacon! It is a common pairing with chicken (at least in my house), so why not?

While the bacon was starting to cook I got to chopping....onions and tomatoes

The onions go into the pan with the bacon and the mushrooms (I got the pre-sliced)

While those are cooking I put the chicken in a pan...

And melted the cream cheese and mixed in everything else, and ran out of room in my bowl to add the spinach, so I just covered the chicken with it...

Then topped it with the cheesy-bacony-yummy sauce!

And popped it in the oven at 350, for 30 minutes...I think it is going to take a lot longer than 30 minutes, I checked it halfway through and the chicken is still VERY raw looking.....we shall see...in the meantime I am having a VERY hard time not eating the other half of the Italian bread I purchased to go on the side....VERY hard....

Once I determined we would actually be able to eat this meal sometime tonight...I started the Linguine I am serving the chicken on. And put the garlic bread in the oven. And sprinkled the shredded cheese all over the top of the dish!

Next time I am going to brown the chicken in whatever is leftover from the bacon onion and mushroom pan....give it a head-start to cooking! But this time, I'm just going to chow down, because I'm hungry and this smells soooooo good!!!!

Enjoy!
 |
| baconbuttercheesegarlic.blogspot.com |
You want to make it now too don't you? And remember I'm pregnant, duh, so any blog that features some of my favorite ingredients must be a hit! The only issue I had with this when I started gathering my ingredients was that I noticed that the recipe doesn't include bacon....an oversight I'm sure! I also switched out minced garlic for the garlic powder.
 |
| The artichokes are being drained...hence the reason they are not pictured |
So I decided to add bacon! It is a common pairing with chicken (at least in my house), so why not?

While the bacon was starting to cook I got to chopping....onions and tomatoes

The onions go into the pan with the bacon and the mushrooms (I got the pre-sliced)

While those are cooking I put the chicken in a pan...

And melted the cream cheese and mixed in everything else, and ran out of room in my bowl to add the spinach, so I just covered the chicken with it...

Then topped it with the cheesy-bacony-yummy sauce!

And popped it in the oven at 350, for 30 minutes...I think it is going to take a lot longer than 30 minutes, I checked it halfway through and the chicken is still VERY raw looking.....we shall see...in the meantime I am having a VERY hard time not eating the other half of the Italian bread I purchased to go on the side....VERY hard....

Once I determined we would actually be able to eat this meal sometime tonight...I started the Linguine I am serving the chicken on. And put the garlic bread in the oven. And sprinkled the shredded cheese all over the top of the dish!

Next time I am going to brown the chicken in whatever is leftover from the bacon onion and mushroom pan....give it a head-start to cooking! But this time, I'm just going to chow down, because I'm hungry and this smells soooooo good!!!!

Enjoy!
Thursday, February 20, 2014
This is why you should plan ahead!
 Last year we purchased a quarter of a cow. I was sooo sure that we would go through that in a years time...well this last year has flown by and we still have quite a bit of meat in the deep freezer. So I pulled the brisket out of the freezer because the sky is getting dark and it's gonna rain...so no grilling! I found a recipe I wanted to try (click here) and I realized that making a brisket is an easy 24 hour process! I used my microwave's defrost mode to get it started defrosting and gathered the rest of my ingredients. I did not follow the recipe exactly, I substituted a lot of the seasonings. I used onion powder, celery salt, Durango Hickory Smoked Salt, minced garlic and a secret ingredient.
Every recipe I read said to line the pan with foil, and I used three layers to make sure that cleanup would be easy.

< Meat goes in the pan
 Then cover with liquid smoke >
and sprinkle on the rest of the seasonings.

then cover with foil and let it marinade overnight...the next day pour off the liquid smoke and add a few dashes of Worcestershire sauce. And by a few dashes I mean cover it with liquid.

This gets put in the oven at 250 for six hours, I cooked mine from 8:30am till 4pm, 7 1/2 hours total

The original recipe says to pull the foil off, pour a bottle of BBQ sauce on it and bake it for another hour . But I didn't want BBQ, so I left it off and as I stated before, it was baking for over seven hours.
 |
| So yummy I couldn't stop tasting this!!! |

Enjoy!
Friday, January 3, 2014
A NEW, New Year's Tradition

 Summer Savory is the only spice in this soup.
I keep it on hand strictly for this recipe.
No other uses for me, yet...
It was a bit difficult to find a few years ago, but I found it with the help of my parents. The cost is on the higher side as far as seasonings go, but it is well worth it as nothing compares, or can be substituted.
When I use the word recipe for this particular meal, it really is more of a list of stuff, with no real measurements. But that's all good, it makes this an easy recipe to follow exactly. Which I'm not gonna do because the only recipe I follow exactly is when baking, and I'm not baking.
To start this soup you need a ham bone, with meat on it of course.

The flavors from the ham and bone will be the flavors of the soup. My ham is of course from Christmas, and I did a copycat recipe for Honeybaked ham. Turned out goooooood. So carefully cut the chunks of meat away from the bone, and chunk them up, put them in your soup pot with the hambone.


Then cover the ham pieces and hambone with water, and this is when you get a spice bag or fill your own teabag and put the summer savory in the bag.

Toss that on top and bring it to a boil. This is going to simmer for a good length of time. Because you want to make sure all of the marrow, and other goodness found in the ham bone has had a chance to seep out and into the water and ham pieces.
While the yumminess is boiling (don't leave it on high, just let it simmer) it's time to dice up the rest of the soup ingredients! So two can's of Green beans (I'm a cheater I know, but fresh is sooo hard to find this time of year) some carrots and some potatoes.

A few weeks ago my MIL made a potato soup that had bacon and browned onions. So I'm gonna add some bacon browned onions to this soup, at least this time around.

Peel and cube the potatoes, and the carrots. Plop them in a bowl of cold water because you won't add these until a half hour before you are ready to eat.

Then cut up the bacon fat, and render that out in a skillet, remove the chunks of fat and then add the onions.

A half hour before you are ready to eat, fish out the bone and finish removing whatever meat was stuck to it. Put the bones back in the water then toss the potatoes and carrots in. These will take about 20 minutes to cook.
Then drain off about half of the water, and remove the savory bag.
Add the onions, and green beans (drained), then add milk to give the liquid volume you desire. This needs to sit on low heat until warmed up. Trust me you don't want to boil the milk. Yuck!

Serve warm and enjoy!
Tuesday, June 11, 2013
God gave us food, the Devil gave us recipes!
 |
| Tea towel by Peg's Pantry |
So I will be making the above, with green beans and potatoes on the side. I started by washing my vegetables and thawing my chicken.
 |
| I washed it all at the same time... |

Fry the bacon....and while that is frying I chopped all of the veggies for the main dish and the side dish.
 |
| I never get tired of pictures of bacon frying... |
 Coat the chicken in the flour mixture then it's time to brown the chicken in those yummy yummy bacon drippings!
Add the onion and mushroom (I also added the carrots)

Add the remaining ingredients

Simmer for 1 hour. It already smells DEVINE!
 In the meantime I have the cast iron skillet with bacon, butter and onion starting to cook in the oven, with the yukon gold potatoes on top of it all.
 With only 25 minutes left to cook I added the green beans on top of the potatoes and stirred it up as best I could to get everything coated in bacon and butter.
Serve it all together on a plate!

Enjoy!!!
Saturday, June 1, 2013
Another way to eat bacon
Today is going to be a WONDERFUL day! Why you ask? Because right now there is a large cast iron dutch oven in my oven being seasoned
And that means my blog readers...that today is the day...the day we have all been waiting for (well I know several people have been waiting for it). I have thought about this day, and waited until I had everything I needed (the cast iron dutch oven) and today I will be making...dun dun dunnnnnn...
At 1:47pm I gathered all of my ingredients...I decided to double the recipe. And use 4oz jars, so that way I get 10 whole jars (which turned into 11, plus another spoonful...). Especially because my partner in crime, her boss, my bestie, and my local cousin all want some...

Start with a non stick skillet and fry the bacon up in small batches then set aside...

And watch out for the hazards of cooking over 4 lbs of bacon...the trip hazards...otherwise known as my dogs.

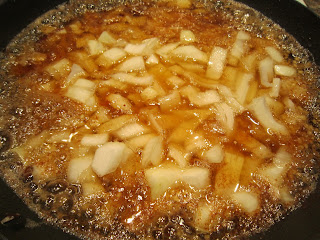
After all 4 pounds of bacon have been fried (I finished a little after 3:30 pm), throw in the onion (I used Vidalia because that's my favorite onion) and the garlic and cook on medium heat until the onion is translucent, takes about 10-15 minutes.

I chose to use the metal sieve to drain the grease from the onion and garlic, and I am saving it for other cooking adventures...

Now bring out the cast iron dutch oven and put the 1 inch chunks of bacon, the onion and garlic and the rest of the ingredients (sans water) on the hot burner and simmer for 4.5 hours...stirring every 25-30 minutes (and adding 1/4 cup water if needed at that time) I went ahead and set alarms on my phone to remind me to stir every 30 minutes, and then the final alarm at 4.5 hours to finish processing...It's going to be after 10pm before this is done and in jars...I wonder if this could be altered to be done in a crock pot...maybe next time...
 Well it's FINALLY done, well done cooking!
Now time to put it bit by bit into my food processor so it can blend till semi-smooth.

Because it's done in batches I put it all into another bowl, so I can do the final tasting and add the honey...

The it's into a large collander for 20 minutes to let whatever liquid is still around drain off...


And drumroll please...into the jars...

Now to put this on breakfast biscuits, sammaches, hamburgers and anything else that bacon goes on!
Till next time! ENJOY!
 |
| oooh, smoky! |
And that means my blog readers...that today is the day...the day we have all been waiting for (well I know several people have been waiting for it). I have thought about this day, and waited until I had everything I needed (the cast iron dutch oven) and today I will be making...dun dun dunnnnnn...
BACON JAM!!!! (click here for recipe)
At 1:47pm I gathered all of my ingredients...I decided to double the recipe. And use 4oz jars, so that way I get 10 whole jars (which turned into 11, plus another spoonful...). Especially because my partner in crime, her boss, my bestie, and my local cousin all want some...
Start with a non stick skillet and fry the bacon up in small batches then set aside...
And watch out for the hazards of cooking over 4 lbs of bacon...the trip hazards...otherwise known as my dogs.
After all 4 pounds of bacon have been fried (I finished a little after 3:30 pm), throw in the onion (I used Vidalia because that's my favorite onion) and the garlic and cook on medium heat until the onion is translucent, takes about 10-15 minutes.

I chose to use the metal sieve to drain the grease from the onion and garlic, and I am saving it for other cooking adventures...
Now bring out the cast iron dutch oven and put the 1 inch chunks of bacon, the onion and garlic and the rest of the ingredients (sans water) on the hot burner and simmer for 4.5 hours...stirring every 25-30 minutes (and adding 1/4 cup water if needed at that time) I went ahead and set alarms on my phone to remind me to stir every 30 minutes, and then the final alarm at 4.5 hours to finish processing...It's going to be after 10pm before this is done and in jars...I wonder if this could be altered to be done in a crock pot...maybe next time...
 Well it's FINALLY done, well done cooking!
 Now time to put it bit by bit into my food processor so it can blend till semi-smooth.

Because it's done in batches I put it all into another bowl, so I can do the final tasting and add the honey...

The it's into a large collander for 20 minutes to let whatever liquid is still around drain off...


And drumroll please...into the jars...
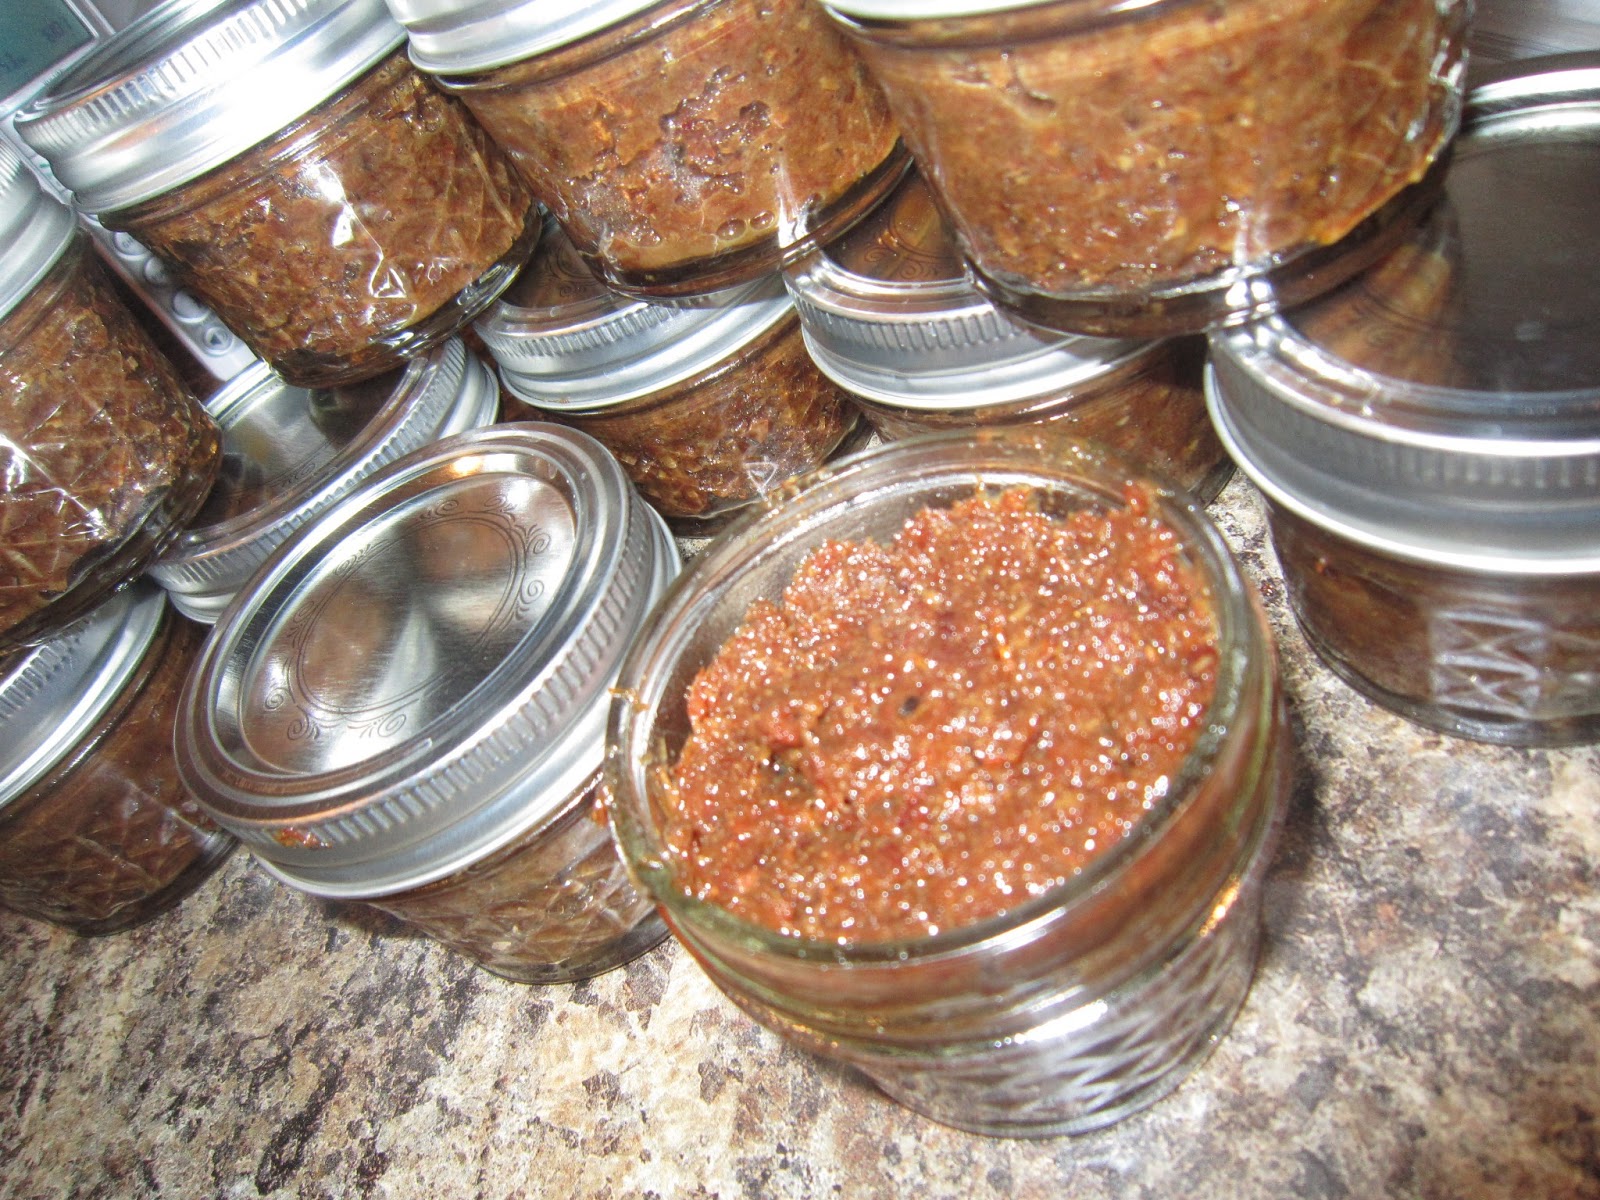
Now to put this on breakfast biscuits, sammaches, hamburgers and anything else that bacon goes on!
Till next time! ENJOY!
Subscribe to:
Posts (Atom)