 |
| The scrap that started it all |
I had only just recently joined the quilting group at church, and I knew I had a lot to learn. But I was ready to try my hand at making a simple first quilt. After consulting with the quilt guru at our group I found several patterns that were contenders, and eventually settled on trying a quilt I found on Pinterest. The PDF is free, and I cannot link to the original site I got the pattern from. But I did luckily download that pattern, and you can get it HERE.
My mom and I went shopping for the fabrics. The pattern called for flannels, but you can substitute regular cotton fabrics.
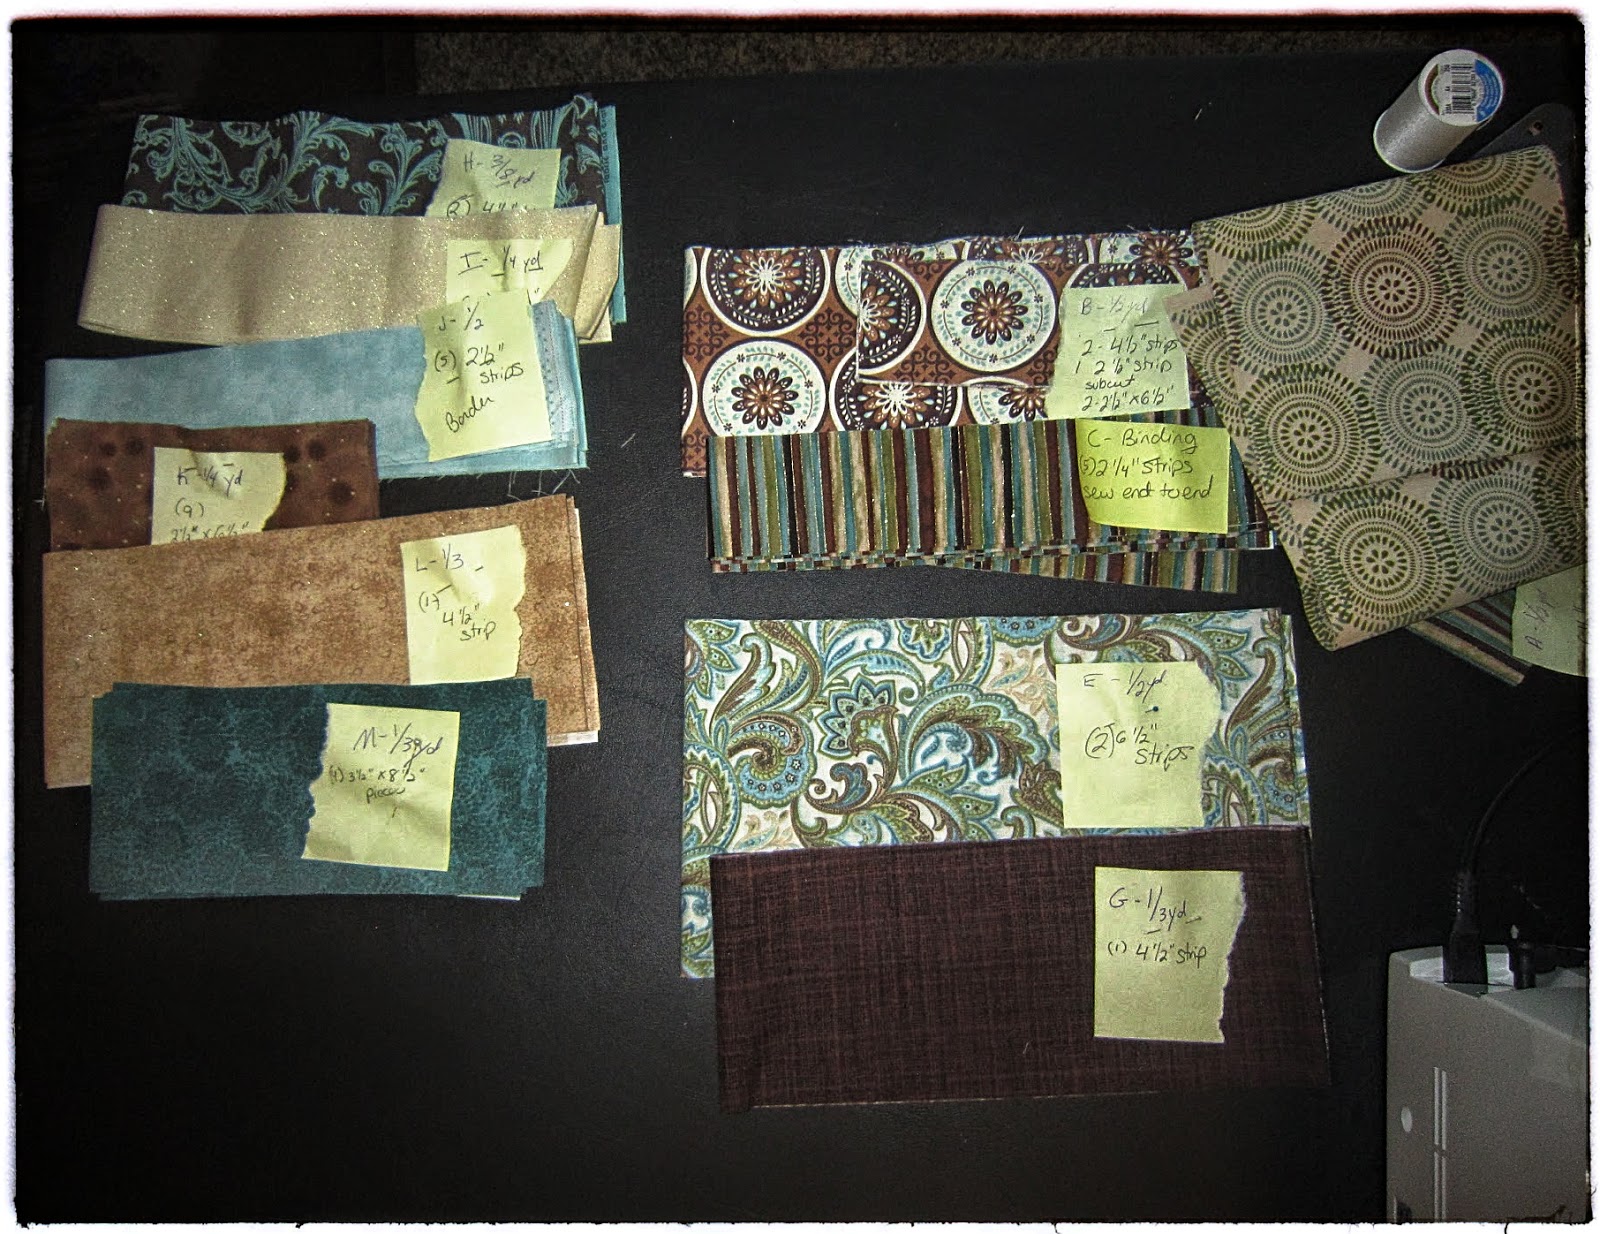
Once you have everything LABELED (and trust me, you will want to label everything with a sticky note and a pin) grab your iron and carefully iron out any creases and lines. But don't smoosh it around, press it, you don't want the fabric stretching. Then grab your pattern, and your tools and take a deep breath, because it's time to start cutting the fabric!!!
There is a saying in construction, and it's true for sewing too. "Measure twice, cut once" No one can really say who uttered these words first, or a variation of them, but the phrase and meaning has been traced back to 1560 AD, but who knows if it was used even earlier. And if that phrase has been around that long, you best believe it is sound and solid advice. You cannot uncut fabric. And although you do end up with extra bits and pieces, you don't want to mis-measure multiple times, otherwise you will end up having to go BACK to the store and hope they have more of the fabric you originally chose.
As I cut the pieces I added information to my labels, I wasn't sure how much time this would take and I wanted to make sure if I needed to leave the project and then come back to it I would not be confused at where I left off. I also used a pencil to put check marks after completing a step or cut.
After getting the strips cut to size, start with step one, sew the indicated pieces together.
A good pattern will tell you which direction you need to press, and I mean PRESS the fabric. Again, don't smoosh the fabric it will stretch it which results in a ripply quilt top, and if you are going to take the time to make a quilt, you want to do it right!
 |
| Press, don't smoosh |
It went really quickly from there, the sub cuts get sewn together into blocks, then the blocks get sewn into strips.
Once the strips are sewn together it's time for the border. This step for some reason gave me a hard time. You can butt the ends of the border fabrics together, or you can miter them. I chose to miter, and the first time I sewed the pieces together realized that I sewed a right side to a wrong side, after I had already trimmed the excess...of BOTH pieces...oops...time to try again and the third time was a charm.
 |
| Double check before you cut mom! Duh! |
Sewing the border to the main part of the quilt took a lot of patience, and a lot of pins. You don't want that thing to move while you are sewing!
It takes a LOT of safety pins, a lot more than you think. After the backing, batting and top are pinned together you can start doing the quilting process. I am doing diagonals, 3" apart over the face of the quilt. It will give it a diamond pattern. I am doing the quilting myself, mostly because I didn't have enough of the backing fabric to extend 6" on all sides which is what is requested when sending a quilt to a long arm quilter. This is small enough I should be able to handle it myself. I got some quilters tape, to mark the lines I want to sew. Make sure you read the label, and don't sew through the tape, or leave it on your fabric for longer than 24 hours.
The final step to creating a quilt is to put the binding on, it is a multi-step process, and one of many ways to bind a quilt. I think it is fairly easy to create a beautiful binding this way.
Enjoy, and go create something!


No comments:
Post a Comment