Saturday, May 18, 2013

Triple D Chili

Last night my DH and I were watching "Diners, Drive-ins and Dives" and it seemed like every episode we watched had hot dogs, so of course we both got hungry for hot dogs!  Chili cheese dogs to be precise.  One particular episode the owner showed how to make chili from scratch.  So that is   what I am attempting to replicate tonight.

There is no set recipe, and there are no measurements aside from the pound of hamburger.  So you will need to gather


Canola Oil and Olive oil
Beef Soup base
Ketchup and Mustard


White Vinegar and
Worchestershire sauce (not pictured)


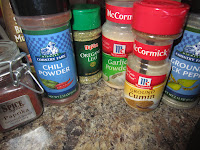
Paprika
Chili Powder
Oregano
Garlic Powder
Cumin
Ground Pepper


Onion and Carrots


 After spending several hours at the Zoo for a birthday party I used the easy route and used the food processor to chop up the carrots and onion.

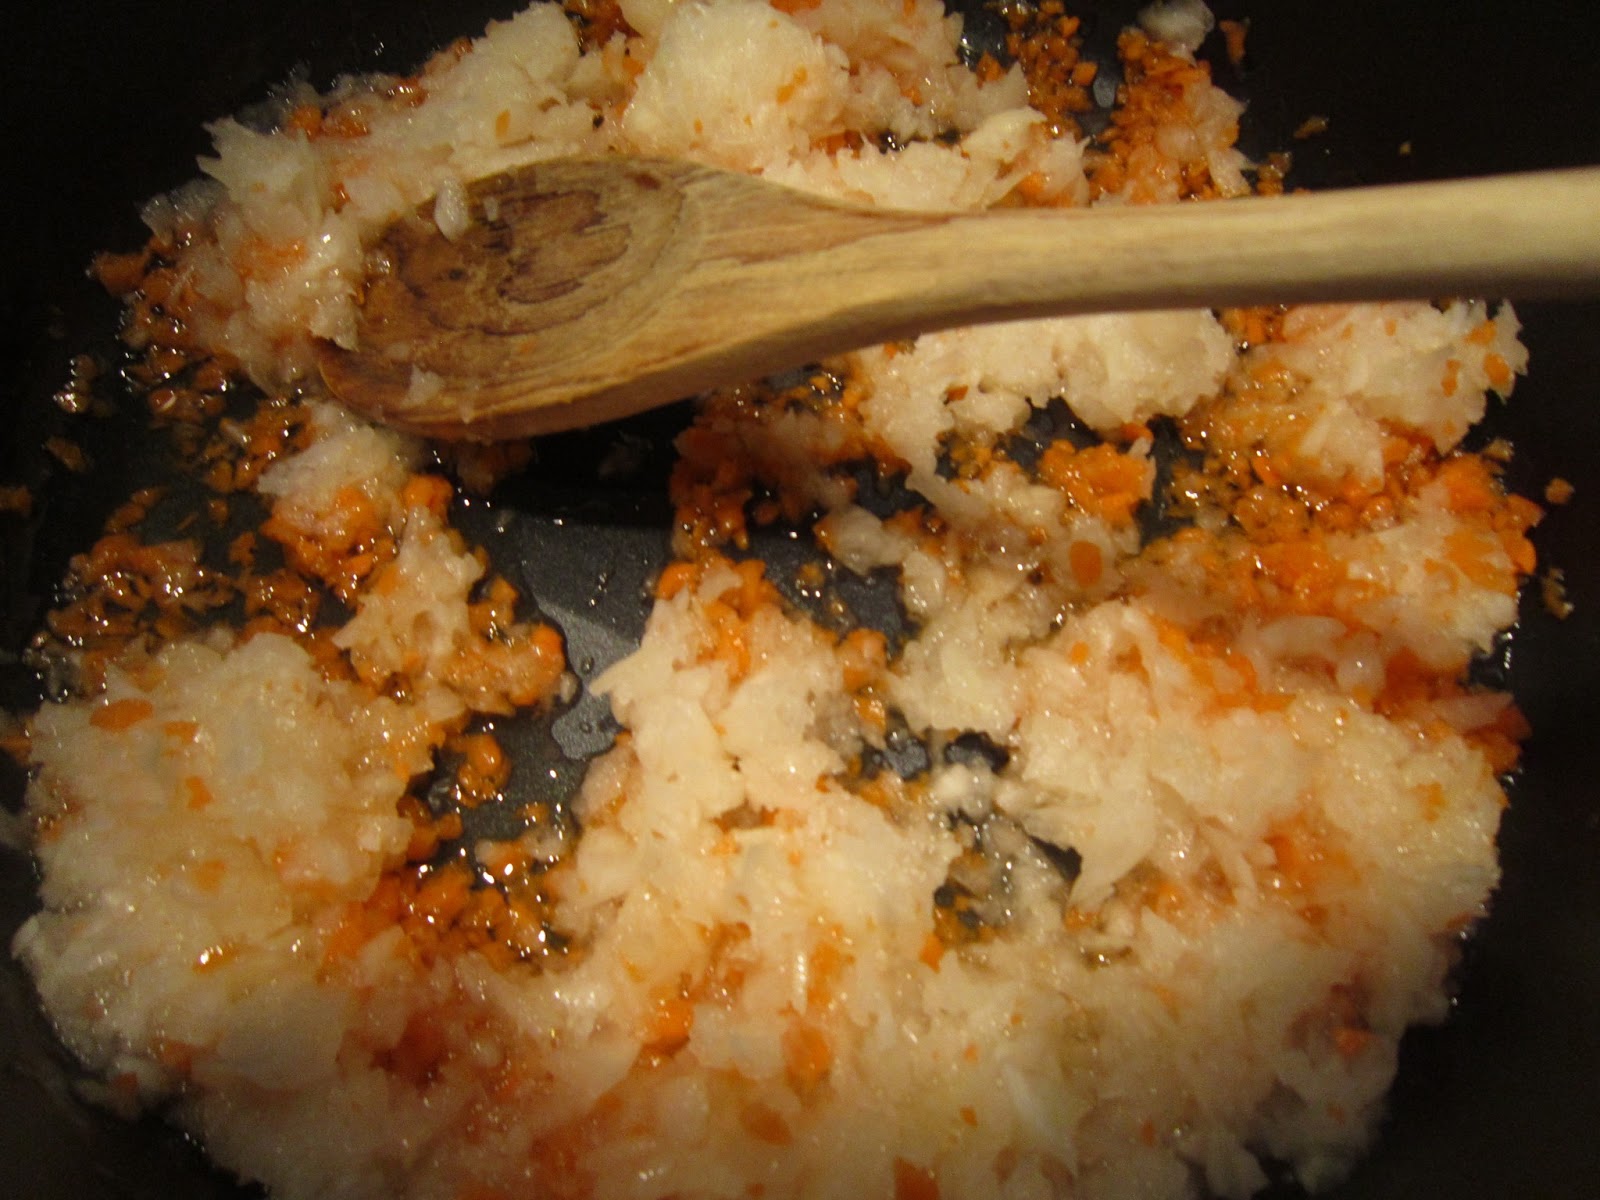
Set a pan on the stove and pour in a blop (yes this is a technical term) of each of the oils.  The sweat the carrots and onion.

Once they are sweating good add the hamburger


And the spices, all just kinda thrown in depending on how you think you will like it.  And I forgot to mention that you need some water (12-ish ounces) too...so add that now.

Yes, at this point the hamburger is raw but that is OK because this is going to cook and simmer and make you drool for 30-45 minutes.  After 15 minutes or so taste the chili to see if you like the flavors, and then you can add more of any of the spices, whatever you think it needs.

Almost done!
Once the chili is done it's time to assemble the chili dog!  Bun, grilled or boiled dog, top with chili and cheese.

ENJOY!

The importance of checking gauge

Well I finally finished my first hat project...its a tad small...honestly it's child sized!  Oops.  Guess skipping the first step of checking gauge was not that smart.  I just assumed that the gauge shown on the skein was what I needed to use.

I am a tight hooker.  So in reality I will have to use a larger hook to create the hat in adult size.

I also changed up the directions from the original pattern to use a contrasting color for the finishing band, and I added a flower (pattern here) because the child recipient of this hat loves pink!
Now I know to check gauge before I start a project like this...ready for the next project!

Happy Hooking!

Friday, May 17, 2013

A hat...even though it's spring

My crochet afghan sits unfinished...but closer to done.  I have been working on joining the squares


Once the rows are all joined I can join the rows and do an edge all the way around.  

So yes it is taking me a while. Partly because I've been sitting on that bed so I don't disturb my pattern that I have laid out.  And the other part because I have C.A.D.D. (Crochet Attention Deficit Disorder) and want to start and do other projects!!!  :) especially ones that work up faster than the afghan...mercy.

So I have completed a prayer shawl for a friend.  The pattern can be found here.  It took several days, mostly crocheting while watching TV at night.  But here it is!

I can't wait to give it to her.  I'm sure she will be surprised!

I have also decided to go ahead and make a hat.  I know that it's the middle of May, but feels like July already.  But hey, I have the yarn, I have the time, and I have someone to give it to!  Bah ha! 

So here I sit, at the computer so I can see the pattern...saves trees this way.  Although it does confuse my dog a bit.
"Wha'cha doin Mom?"
I worked on the new project till about 230am, and was still not quite done,  it's going to take another few uninterrupted hours of crochet time.

Tuesday, May 14, 2013

Two years later...

Ah I love completing a project...of course it's better when the project is completed in a "decent" time frame. Our kitchen project from start to finish took 753 days from the start date (April 23, 2011) to the end date (May 14, 2013), end date included.  Or 2 years, 22 days...
Alternative time units
  • 65,059,200 seconds
  • 1,084,320 minutes
  • 18,072 hours
  • 107 weeks (rounded down)

 That is a long time to wait for something as spectacular as the finished kitchen.  Of course "finished" is not loaded...I still have to load the cabinets. 


The custom cabinets were created by my DH and are very NICE.  This will be a wonderful selling feature for our house. 

The rest of the kitchen remains the same.

Wednesday, April 17, 2013

It's a gloomy day, time to bake away!

As I've mentioned on other posts, Pinterest will be the death of my current wardrobe.  So many recipes, so little time...well used to be little time, but now I'm home more than I'm not so I can experiment in the kitchen, and blog about it, even more!

Photo from http://butteryum.blogspot.com
Today is the day I have been waiting for. Overcast, a bit cold, and rain possibly even thunderstorms!  Last week I wanted bananas, so I bought three, two were already more ripe than I care to eat, and bruised.  So I left them on the counter until today, and now they are PERFECT for banana bread.  But wait, what did I find on Pinterest?

Oh yes, a delicious banana cake!  So now I have something new to try!  Click here for the recipe.

To start as always, gather your ingredients, I know it seems silly, but getting everything ready will make sure that you have everything you will need!

Then turn on the oven, to 375

I know that the original recipe says this can be done by hand, but I prefer to use a blender to make sure it is smooth.  Nothing is worse than getting chunks of butter, or banana in an otherwise perfect piece of bread, or in this case, the cake.  Start with the butter, sugar, sour cream and egg.
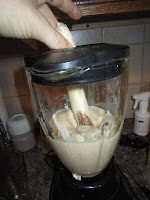
When it is smooth add the vanilla and the bananas.  When you are using the blender it is not necessary to pre-smash the bananas.  Which makes this an easier way to make this recipe.

While the bender is doing it's thing, grab a separate bowl, and mix the flour, baking soda and salt.
As most people know, I can never follow a recipe as written, I noticed with this recipe there is no cinnamon, or allspice, so I added 1/2 t cinnamon, and 1/4 t allspice to the flour mixture before pouring the pureed banana mixture into the bowl.

At this point mix, scraping the bottom of the bowl well and pour into a greased 8x8 pan.  Bake for 20 minutes.


The cake has to cool completely before frosting.  Ah the frosting, you can't go wrong with vanilla frosting!  I had everything on hand, except for the heavy cream.  Instead I am going to use milk, with some powdered milk added in.  This way it's thicker than regular milk, but a lot less fattening than heavy cream.  And because this frosting recipe only calls for 1/4 cup heavy cream, I'm going to make extra, then turn that into hot chocolate!

Again, I used the blender, well the food processor attachment this time, it worked really well!

Then I simply poured the icing over the mostly cool cake, I did not want to wait!


As soon as the icing is set I am all over this cake!!!
Enjoy!

Tuesday, April 16, 2013

What have I gotten myself into?

As far as first projects go, this one seems never-ending!  Not that I'm complaining per-say.  I finally got a chain laid out so I can see how wide this afghan will be using a row of 10.  It's just wide enough for one person...and I then realized that using 10 across and the 9 high I was originally planning would not be big enough for me.  So after doing some measuring I decided to go 10 wide and 13 high.

I will need 130 squares...

Only 92 more squares to go... It seems like a lot, but it will be worth it in the end when I can have something so colorful and fun that I made!  It's so much fun choosing the color combinations.  I have several multi-colored yarns to choose from, and the traditional plain yarns.  There is one skein of yarn that I will be using on a different project later down the road, but I couldn't help but put some of that beautiful blue into this afghan.


My rat terrier Storm is usually the one that can be found under a blanket with me, my mutt Fergus usually just lays on top.

This afghan is proving to be no different. He is already all over it!  And you can also find him snuggled up right next to me while I crochet up some squares. Which is what I'm going to go back to working on!

Sunday, April 14, 2013

Still crocheting along!

I finally had the chance to go to my neighbor's house and see the "room we don't speak of" and get more yarn. Oh goodness!  That is a LOT of yarn!!!!  I'm so jealous of her fabulous selection!  So I brought home several partial skeins and a few full skeins of patterned yarns, or super colorful yarns.  I think I may be set on yarns, at least for a little while!

Today we went to Cabela's, there is an upcoming camping trip, and we need supplies.  So I took the basket of completed squares with me so I could start the binding process I decided to use.  The original pattern calls for whip-stitching the squares together to form a row.  The using the main color do a row of half double crochets between each row with a final border of half double crochets around the entire perimeter.  I however have mastered the double crochet, so that's what I am using.


After doing over 20 squares I decided to change the pattern just a bit, it's all part of making this my own afghan.  Instead of doing a chain 4 and create a circle and DC into the center I found a video on how to make a magic circle.  So now my stitches are even, equal, and you can't really see the opening in the center.  As I am still new to crochet, trying to describe the creation of the magic circle I'm going to post the video, she uses a single crochet but it works to do the chain 3 and 16 2dc for the granny squares.


I am going to attempt to show and explain the one sided border that I am using to attach the squares together.

First, grab a completed square, and tuck the ends of the yarn in weaving it among the completed stitches and snip so the square is "pretty"

Then, in the ch2 space slip the crochet hook in, and grab a loop of the main color.

Bring it through and ch3 to start the border.

Dc12 (includes the ch3) to the end of the square.  Make sure you leave a tail long enough to whip stitch it to the next square.

Below is a chain of squares I started on earlier today.

Have fun creating!